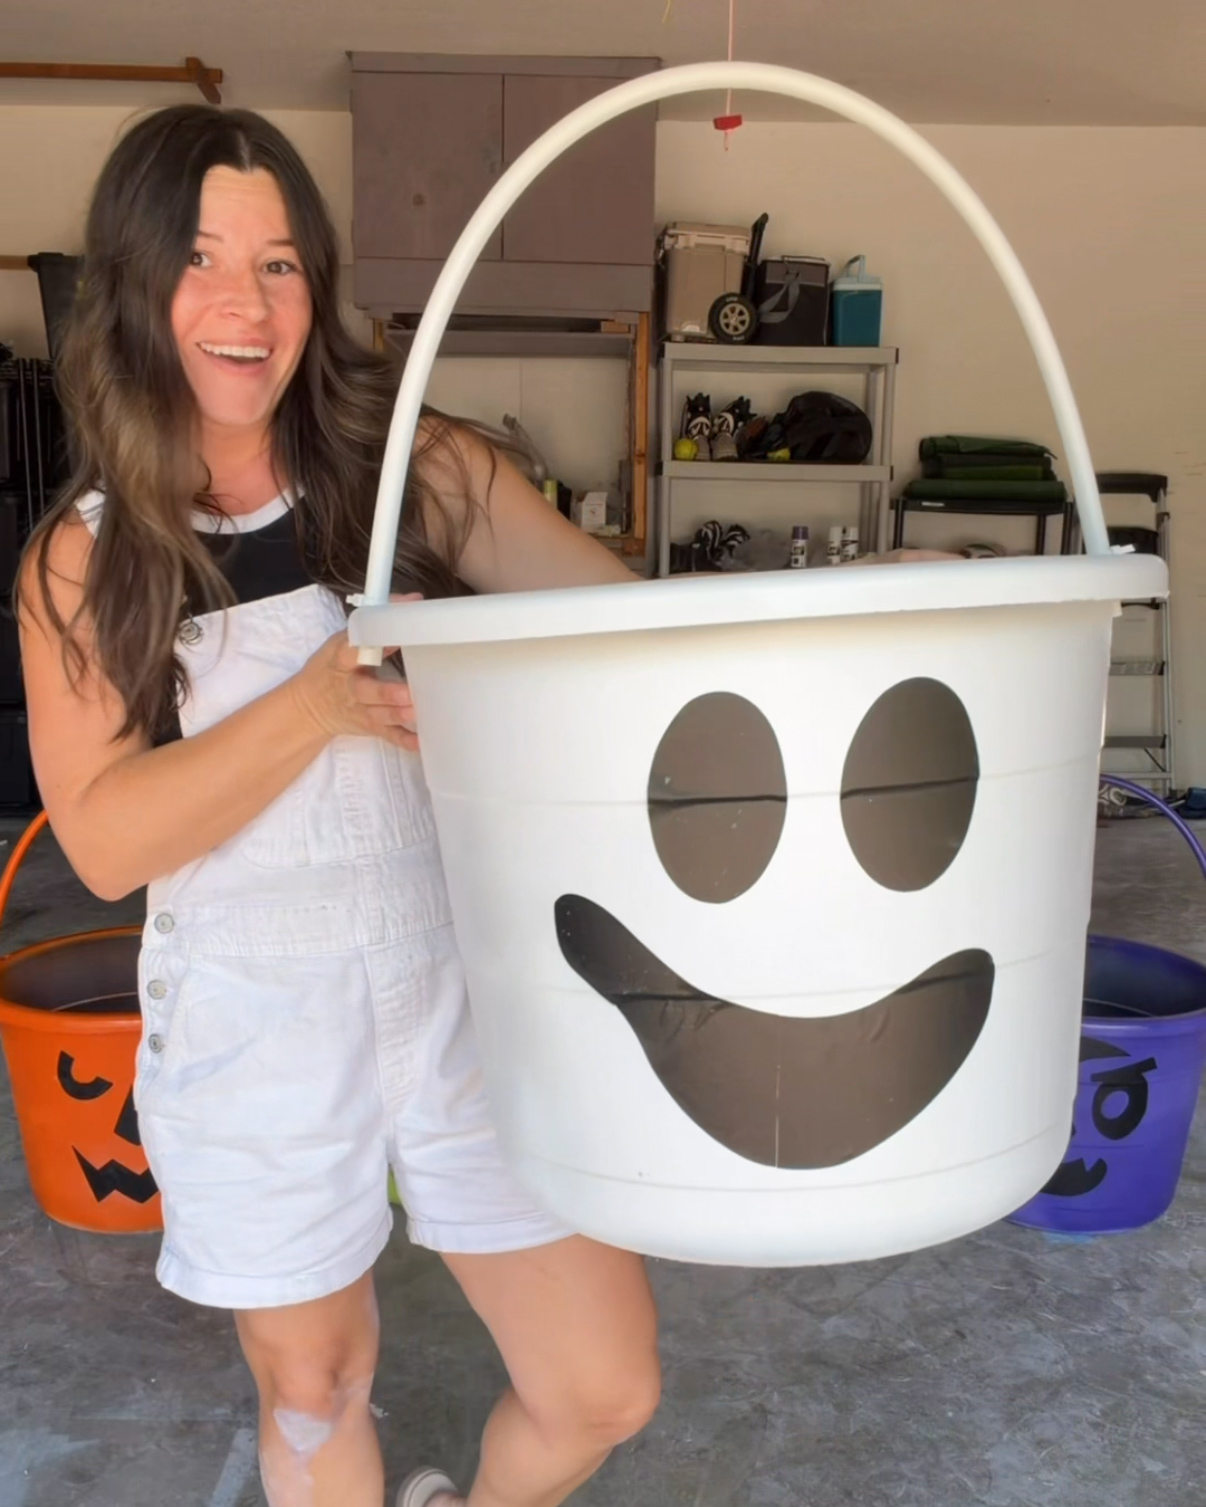
This post may contain affiliate links, which means I earn a small commission if you purchase something I recommend- at no additional cost to you! As an Amazon Associate I earn from qualifying purchases. Thank you for supporting this blog! Full disclosure here.
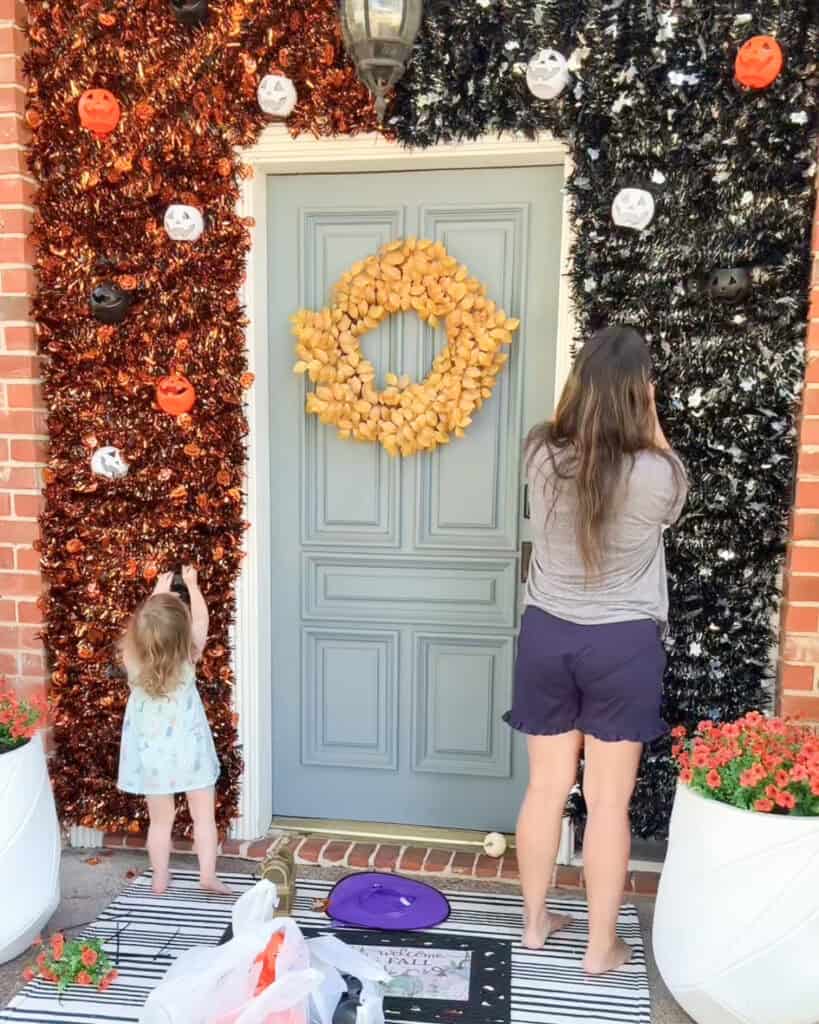
If you love over-the-top holiday decor but don’t want to spend a fortune, this DIY pumpkin arch is the perfect spooky statement piece for your front porch.

Using mostly Dollar Tree and Walmart finds, I created a glowing Halloween garland that looks straight out of a Pinterest dream — without breaking the bank.
What You’ll Need
Supplies:
- Mini pumpkin buckets – Walmart
- Halloween tinsel garland (I used about 40!) – Dollar Tree
- Chicken wire roll – hardware section at Walmart or Home Depot
- Command hooks and/or small nails
- Zip ties
- Hot knife or craft knife
- Mini LED tea lights with timers
–> Shop supplies in my LTK here!
Tip: You can mix and match garland colors if your store doesn’t have enough of one shade. I combined black and orange, and it ended up adding even more dimension!
Step 1: Prep the Pumpkin Buckets
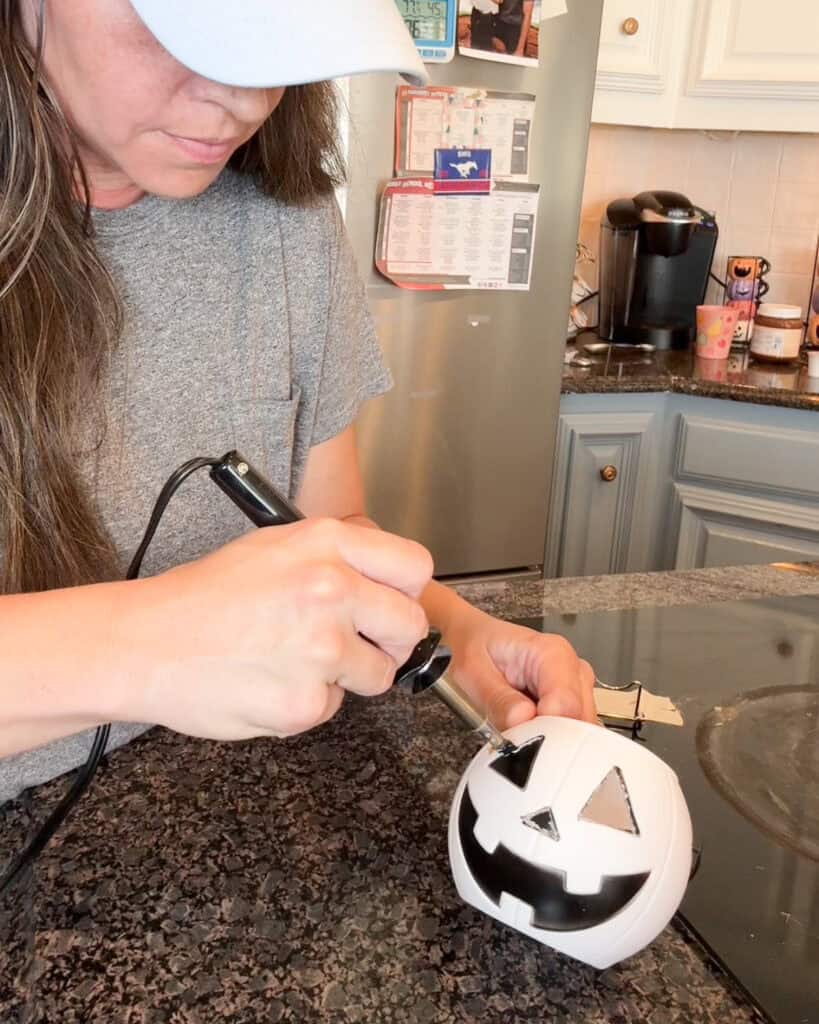
Start by cutting out the faces on your mini pumpkin buckets.
I used a hot knife for this step, which made it easier to get clean edges — but fair warning, it took several hours! It’s a little time-consuming, but these glowing jack-o-lanterns totally make the project come to life.
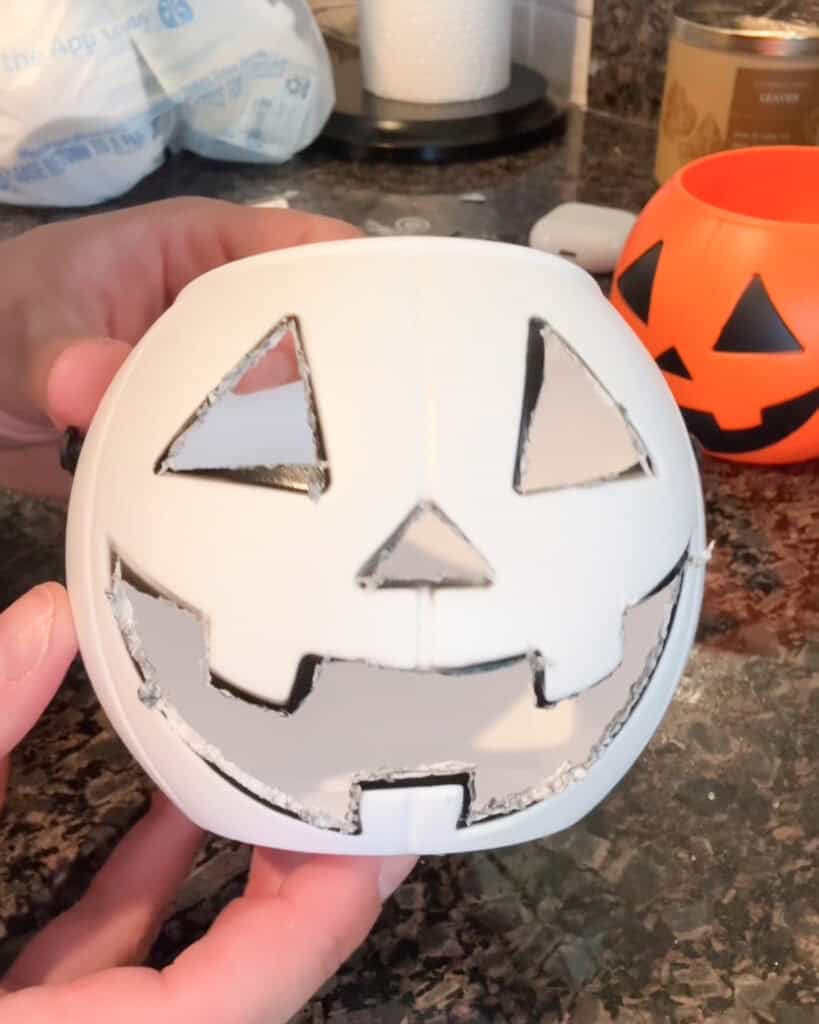
Once all your pumpkins are prepped, set them aside for later.
Step 2: Create the Base
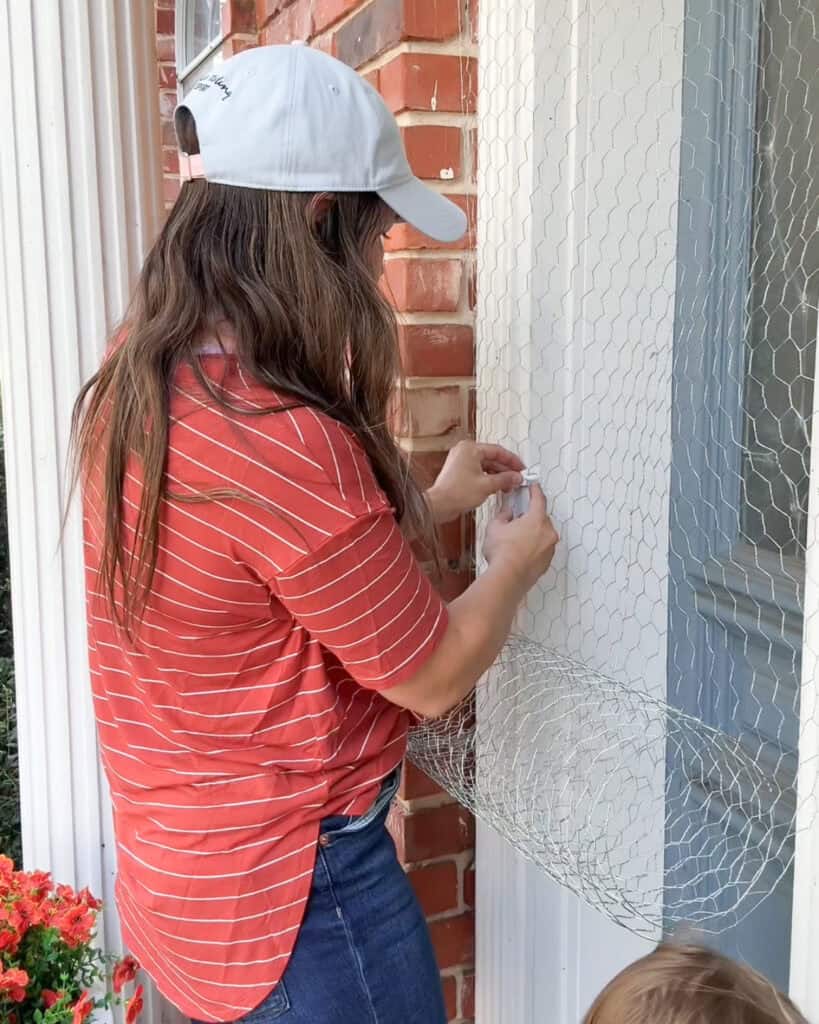
To make attaching everything easier (and renter-friendly), I used a combination of nails and Command hooks to wrap chicken wire around my front door frame.
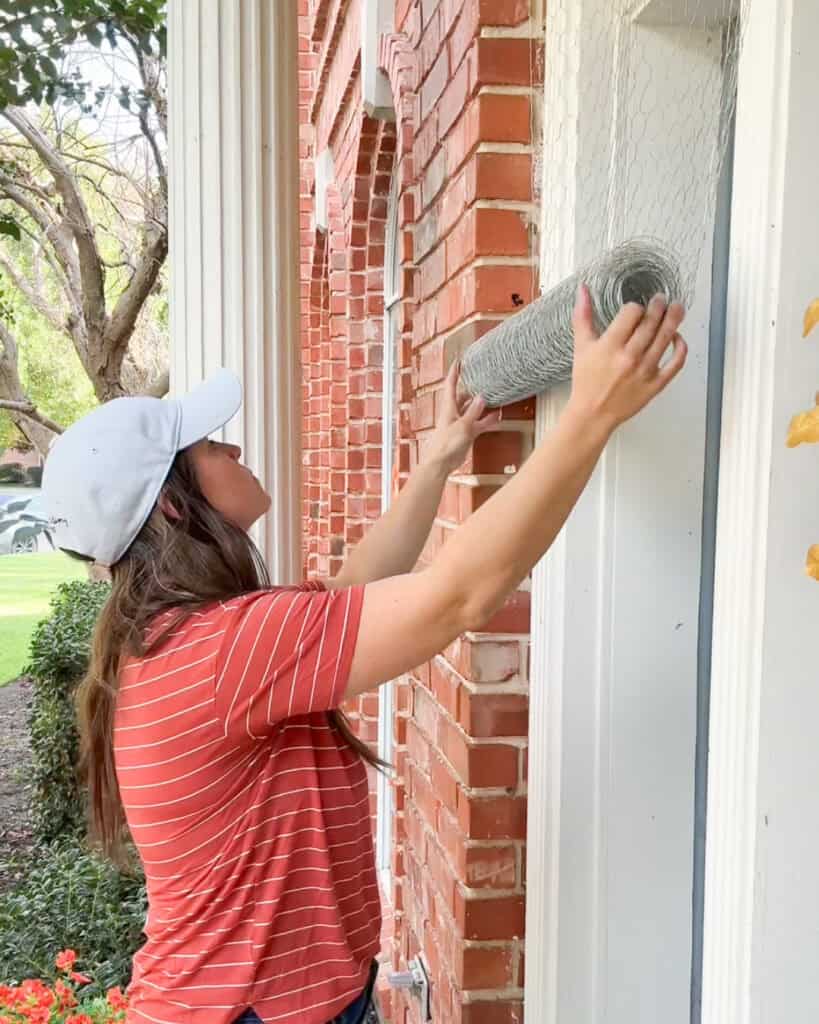
This chicken wire acts as your base structure — like the skeleton of your garland. It’s super flexible and sturdy enough to hold all those tinsel garlands and mini pumpkins.
Step 3: Add the Garland
Here’s where the fun begins!
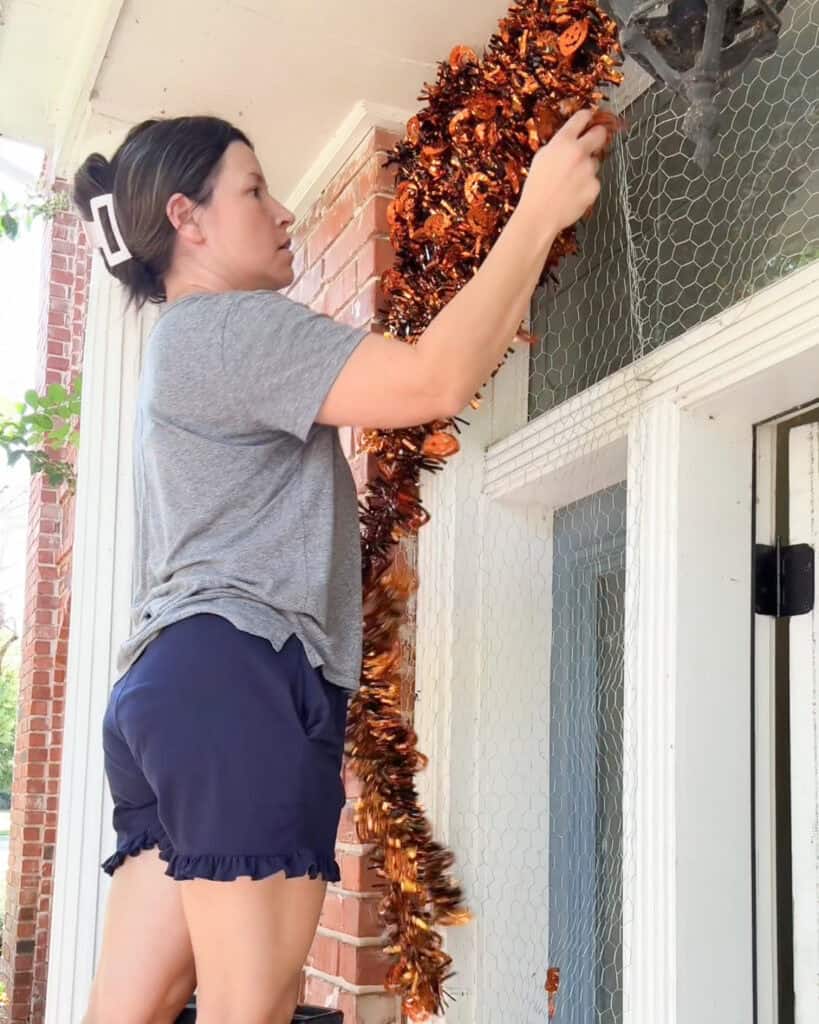
I used about 40 tinsel garlands from Dollar Tree. My original plan was to go with all orange and black, but since I needed so many, I decided to alternate colors. Honestly, I love the way the two-tone design turned out!
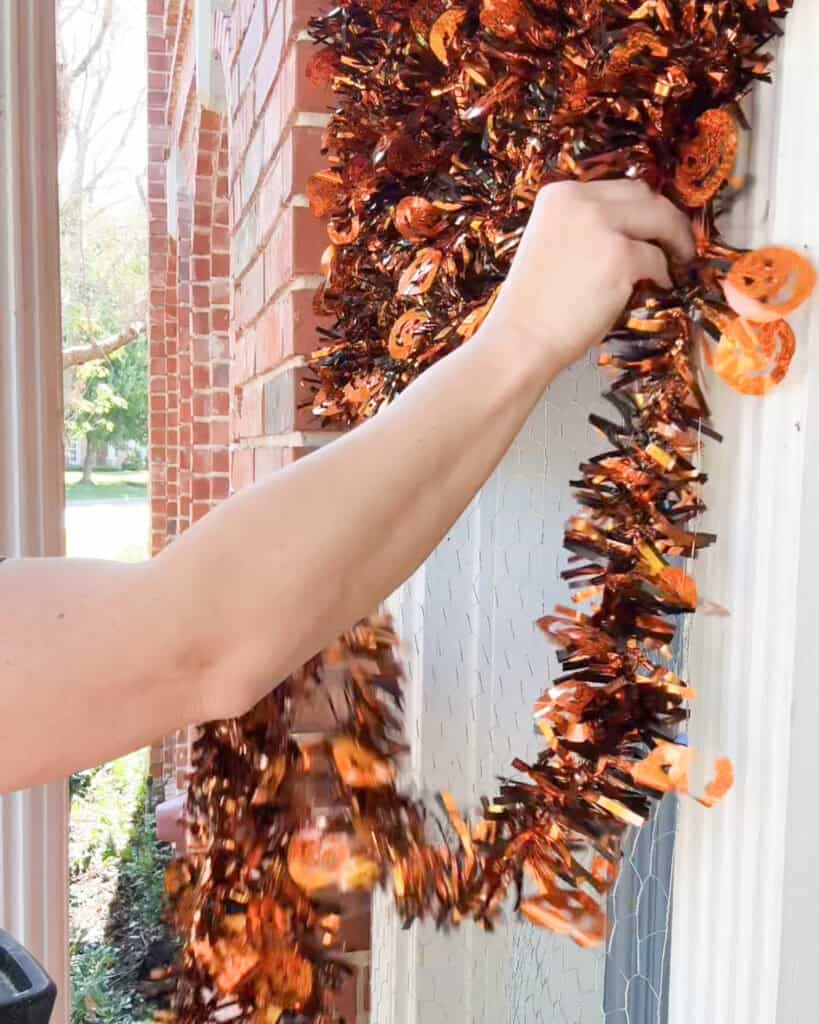
There was absolutely no strategy here — I just stuffed the garland into the chicken wire and wrapped it around randomly, kind of like pomping a homecoming float. Once I got going, this step only took about an hour.
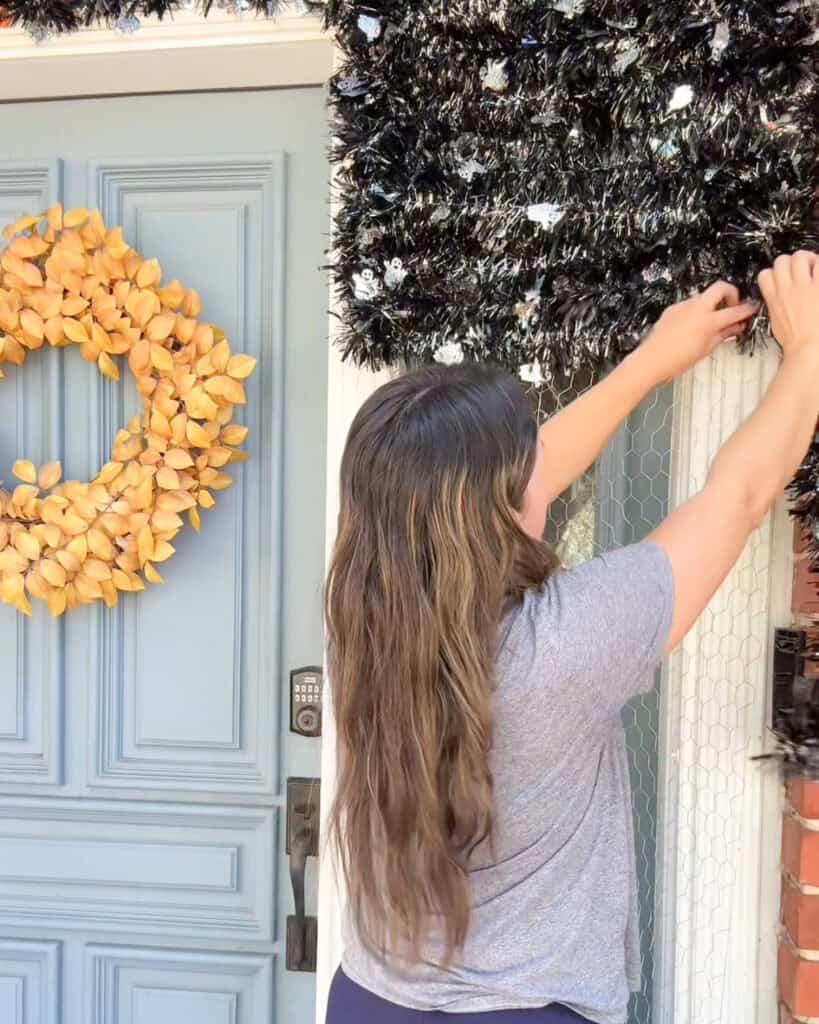
Use a few zip ties in random spots to secure everything in place.
Step 4: Attach the Pumpkin Buckets
Time to bring in the pumpkins!
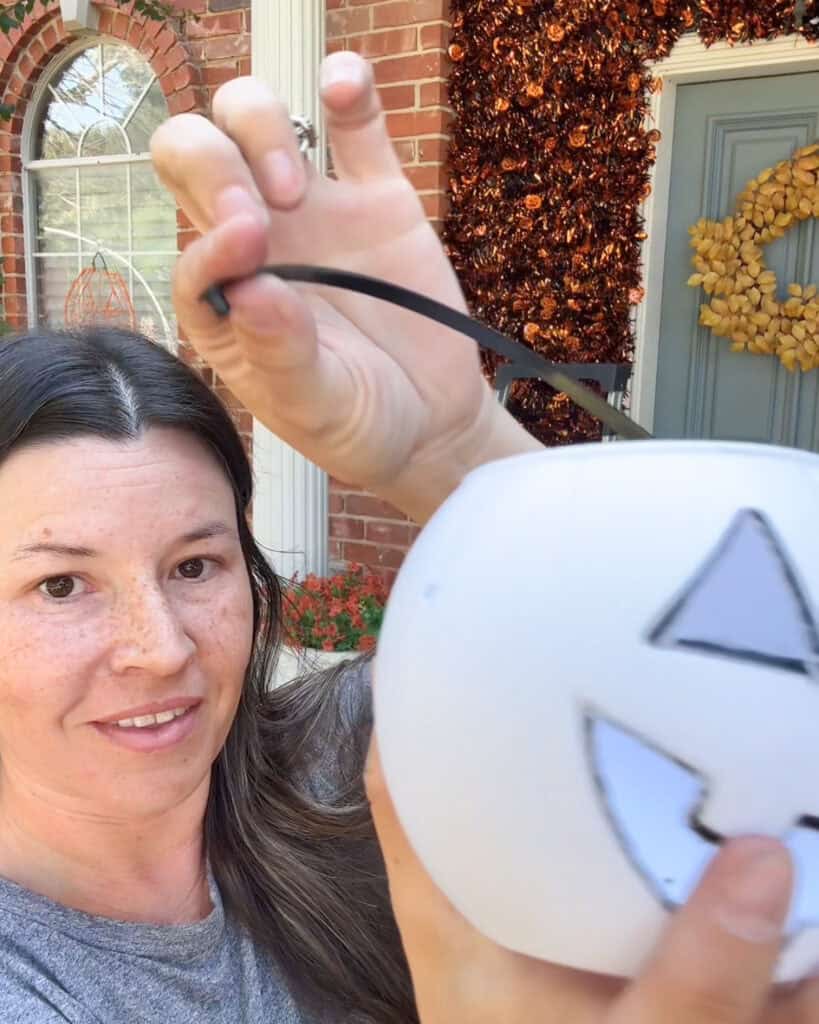
To hang them, I simply detached and reattached each little bucket handle through the chicken wire. It held surprisingly well and gave the garland that adorable “floating pumpkin” effect.
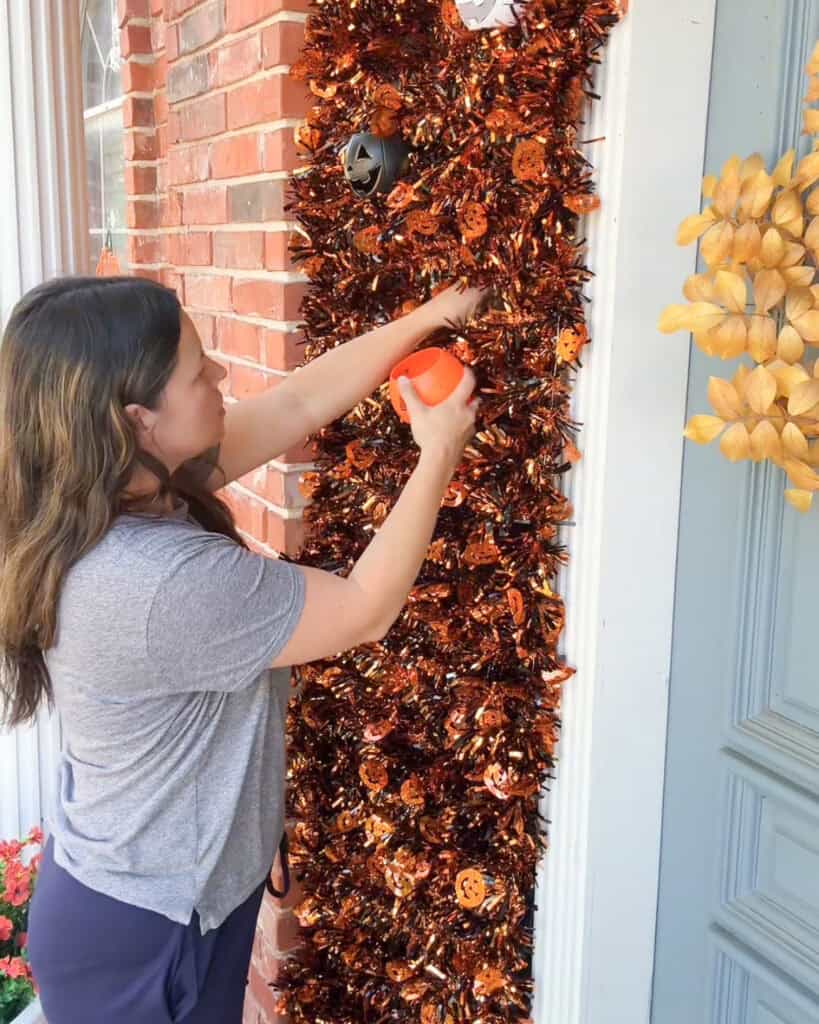
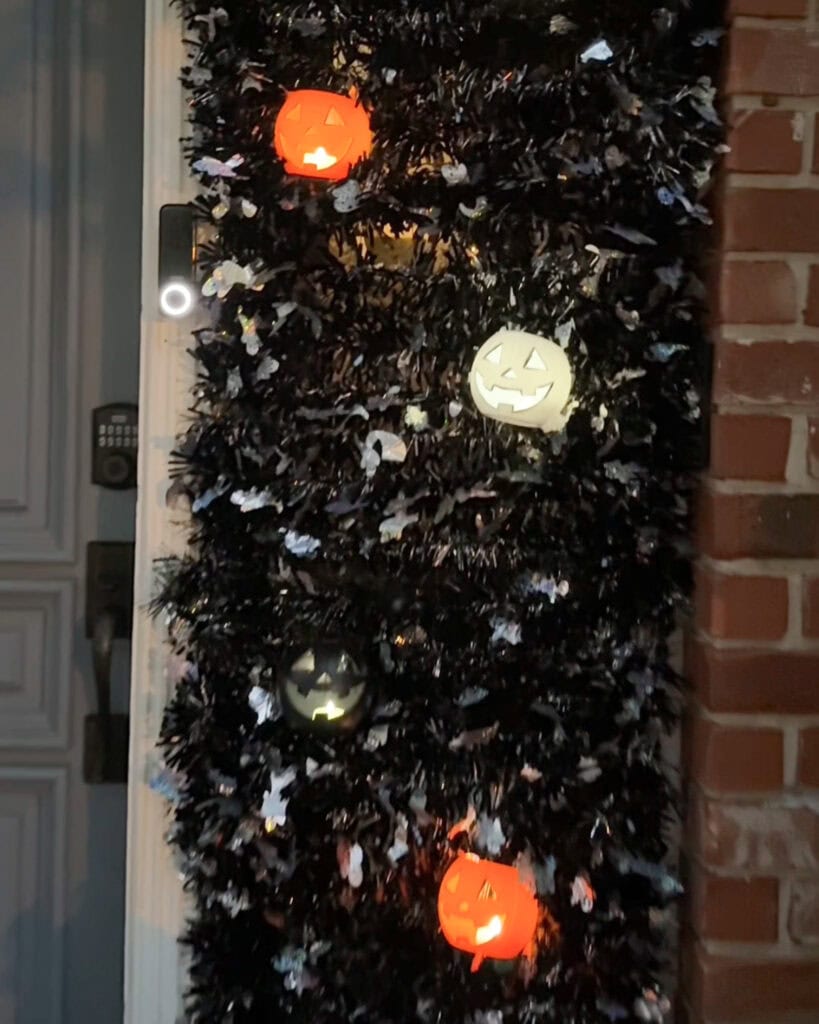
For the finishing touch, I added mini LED tea lights with timers inside each pumpkin — they flicker on automatically each evening and give the whole arch a magical glow at night. ✨🎃
Step 5: Step Back and Enjoy!
When the lights came on for the first time, I had that YES, it worked! moment. It’s exactly what I pictured in my head — bright, spooky, and fun!
It might have taken a little patience (and a lot of tinsel), but this Dollar Tree and Walmart DIY totally transformed our front porch for Halloween.
Final Thoughts
If you’re looking for a statement-making Halloween project that’s festive, frugal, and fun, give this pumpkin arch a try.
Would you make one for your house, or are you just here for the inspo? Either way, make sure to save this post for later and follow along for more DIYs, decor ideas, and frugal fun this season!
More Halloween DIY Fun:
- Spooky Halloween DIY Lawn Decorations
- DIY $4 Halloween Witch Wreath
- Bat Wreath $3 DIY for Halloween
- Halloween Play Dough DIY
- DIY Halloween Decor Ideas
- Kid Costumes for Halloween DIY Ideas
- Halloween Pumpkin Upcycle DIY for Kids
- DIY Halloween Spider Craft
- Disney Pumpkin Painting Ideas
- DIY Pumpkin Decor Ideas
- 5 Easy Halloween DIY with Pool Noodles
- Halloween Pool Noodle Candles
- DIY Pumpkin Mini Bucket Wreath

hi! I'm shannon
I’m a wife, mom of three, doctor, and blogger! In 2018, I decided to turn my mom blog, into a personal finance blog so others could follow along on our journey to pay off over HALF a MILLION dollars in student loan and practice start up debt. I hope you enjoy following along, and maybe even find some inspiration along the way.