This post may contain affiliate links, which means I earn a small commission if you purchase something I recommend- at no additional cost to you! As an Amazon Associate I earn from qualifying purchases. Thank you for supporting this blog! Full disclosure here.
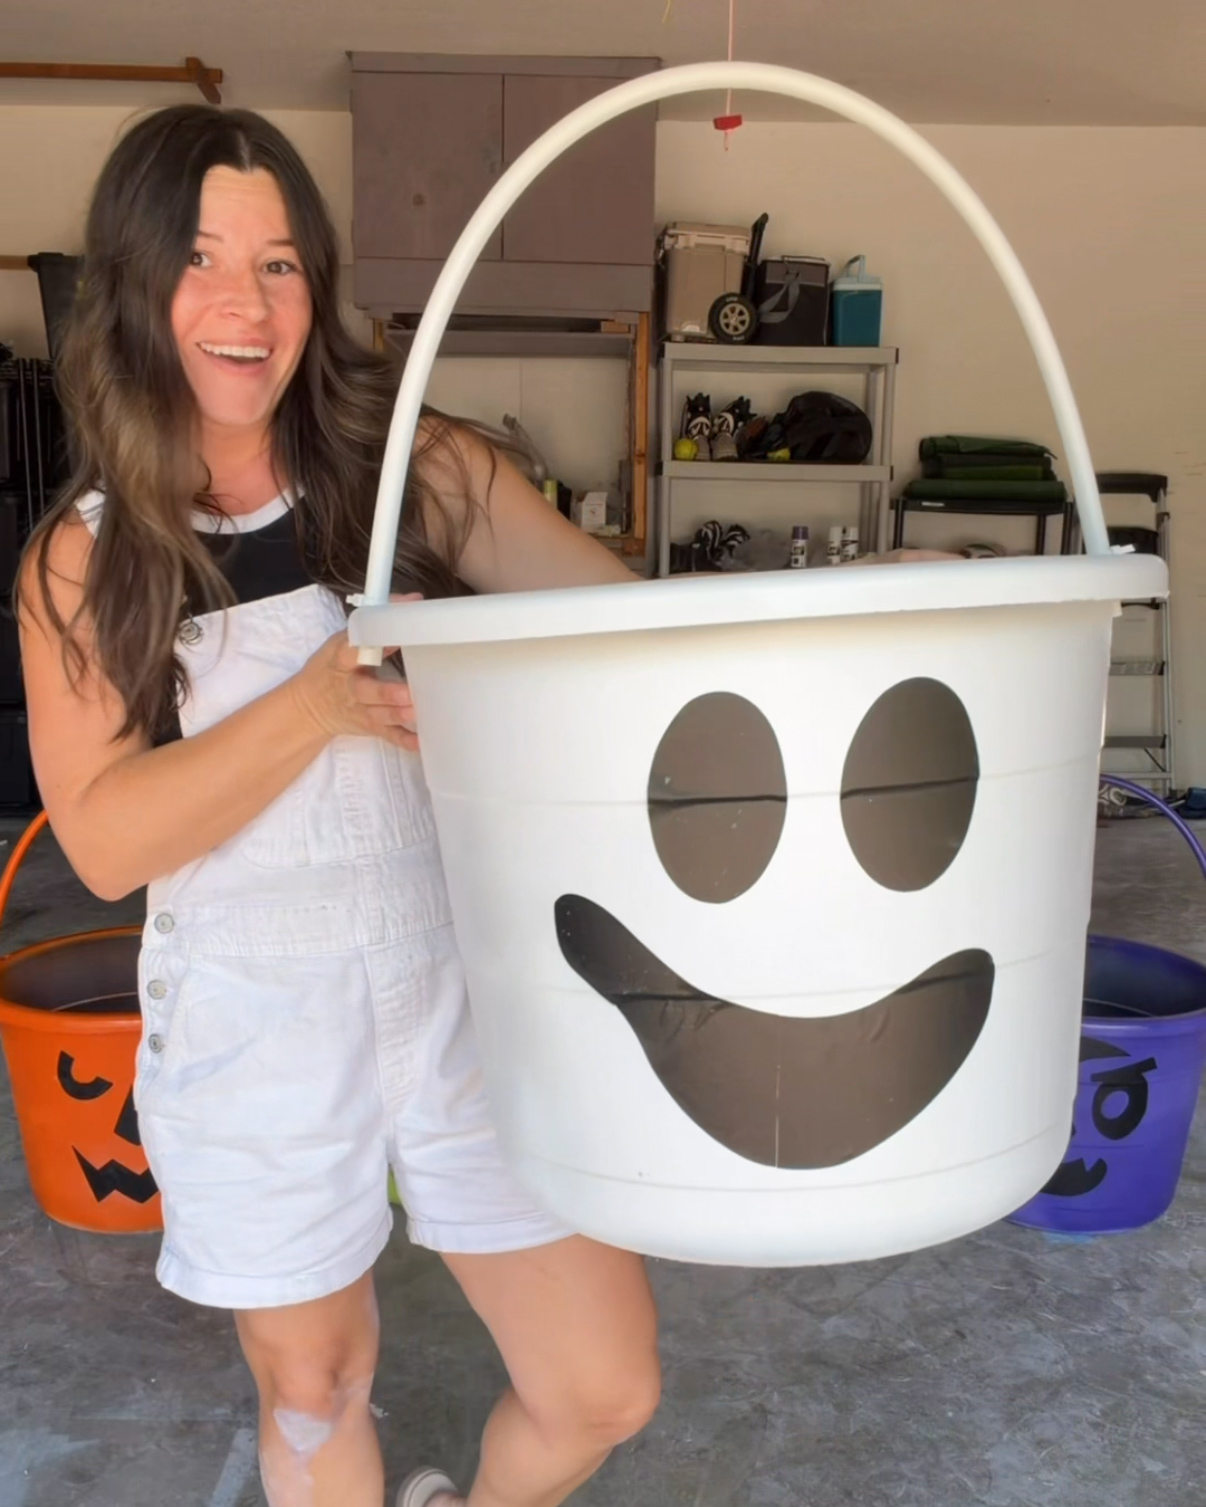
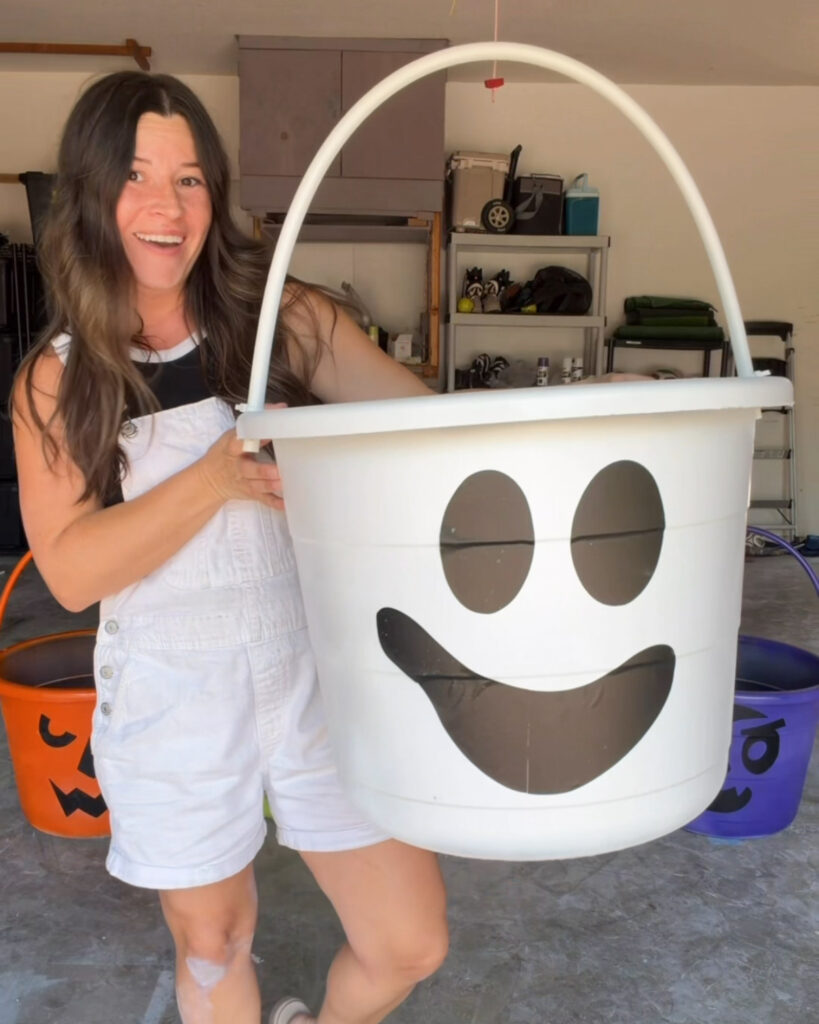
If you trick-or-treated in the ’90s, you probably remember the iconic McDonald’s Halloween buckets—and this giant version may be my favorite Halloween project I have ever made! I turned four basic 17-gallon plastic storage tubs into oversized nostalgic buckets that look amazing as party decor and can actually be used, too.
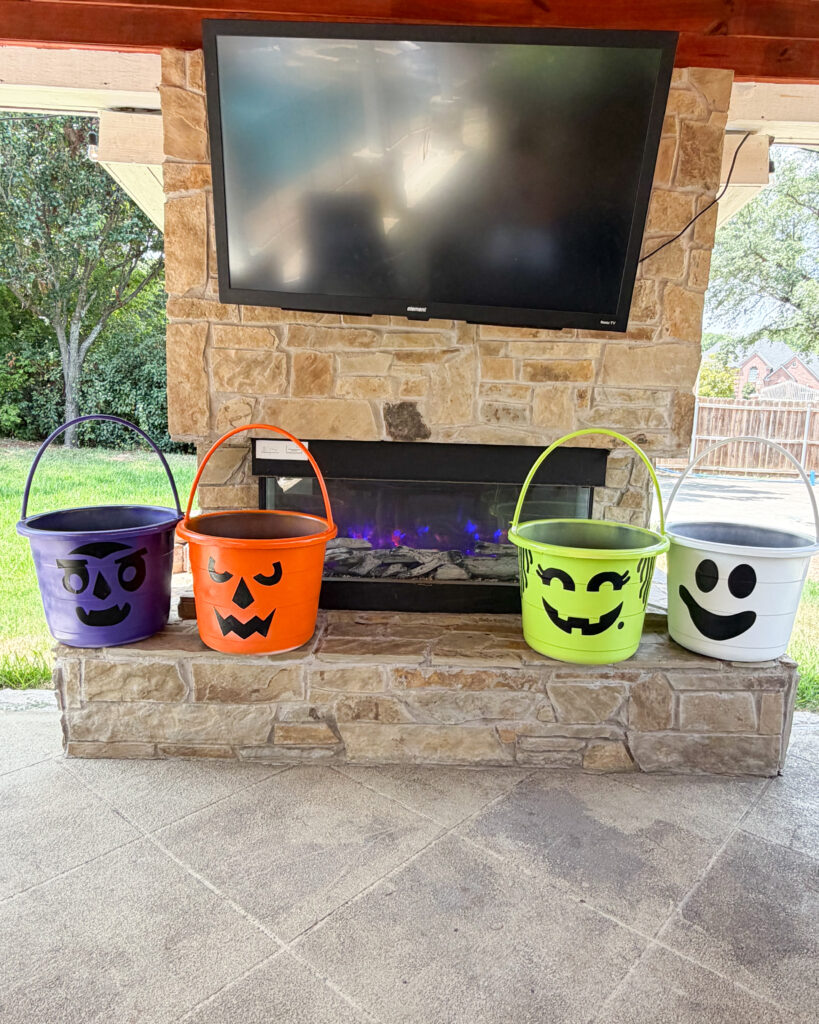
My original plan is to fill them with ice and use them as drink coolers at our Halloween party, but I am also very tempted to use them as giant planters on the front porch. You could fill them with oversized fake candy, use them to hold treats, or simply line them up as decorations. I am even planning to turn our 12-foot skeleton into Ronald McDonald, so stay tuned for that!
The project is surprisingly straightforward: prep and spray-paint the tubs, replace the rope handles with painted PEX tubing, then add the oversized faces. Below, I’m sharing the exact supplies, paint colors, measurements, Cricut Joy workaround and everything I learned along the way.
Shop the project
I linked the tubs, paint, PEX, vinyl, tools and several bucket-face SVG options in my LTK.
Supplies (everything linked here)
- Four 17-gallon plastic storage tubs with removable rope handles
- 220-grit sandpaper or sanding sponges
- Rubbing alcohol and lint-free cloths
- 2 cans Rust-Oleum flat white primer/base coat for all four tubs and handles
- 2 cans Rust-Oleum Painter’s Touch 2X Gloss Grape
- 2 cans Rust-Oleum Painter’s Touch 2X Gloss Real Orange
- 2 cans Rust-Oleum Painter’s Touch 2X Gloss Key Lime
- 2 cans Rust-Oleum Painter’s Touch 2X Gloss White
- 16 feet total of 1/2-inch PEX-B tubing—four 48-inch pieces (PEX is commonly sold in 10-foot lengths)
- PVC/PEX tubing cutter
- Heavy-duty zip ties—two above and two below the handle holes per tub, plus extras
- Black Cricut Smart Vinyl or other permanent adhesive vinyl
- Cricut Joy or another cutting machine, plus weeding and transfer tools
- A purchased bucket-face SVG set or another design you have permission to use
- Optional: light-duty spray adhesive for stubborn vinyl edges
- Optional: projector or paper stencil and black paint instead of vinyl
How to Make Giant Halloween Buckets

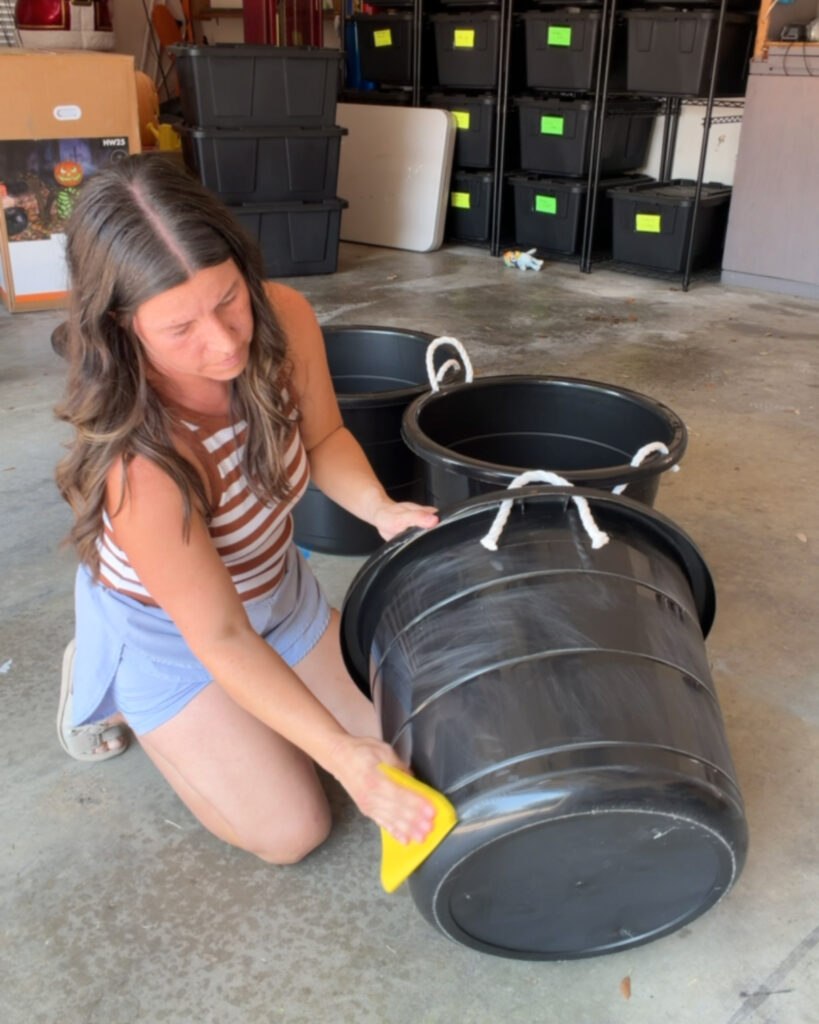
- Remove the original rope handles
Take the rope handles out of all four tubs. Save the existing handle holes—you can use them for the PEX, so no drilling is required if your tubing fits.
- Prep the plastic
Lightly sand the outside of every tub with 220-grit sandpaper. You are not trying to reshape the plastic; you just want to scuff the slick surface so the paint has something to grip. Wipe away all dust and residue with rubbing alcohol, then let the tubs dry completely.
- Cut and install the PEX handles

Cut four 48-inch lengths of 1/2-inch PEX-B tubing with a PVC or PEX cutter. Feed each end through the tub’s existing rope-handle holes to form an arch. Cinch one zip tie tightly around the PEX immediately above each hole and another immediately below it. The two stops keep the tubing from slipping too far in either direction.

Important safety note
These handles are decorative only. Do not lift a bucket by the PEX handle—especially when it is filled with ice, drinks, soil or anything heavy.
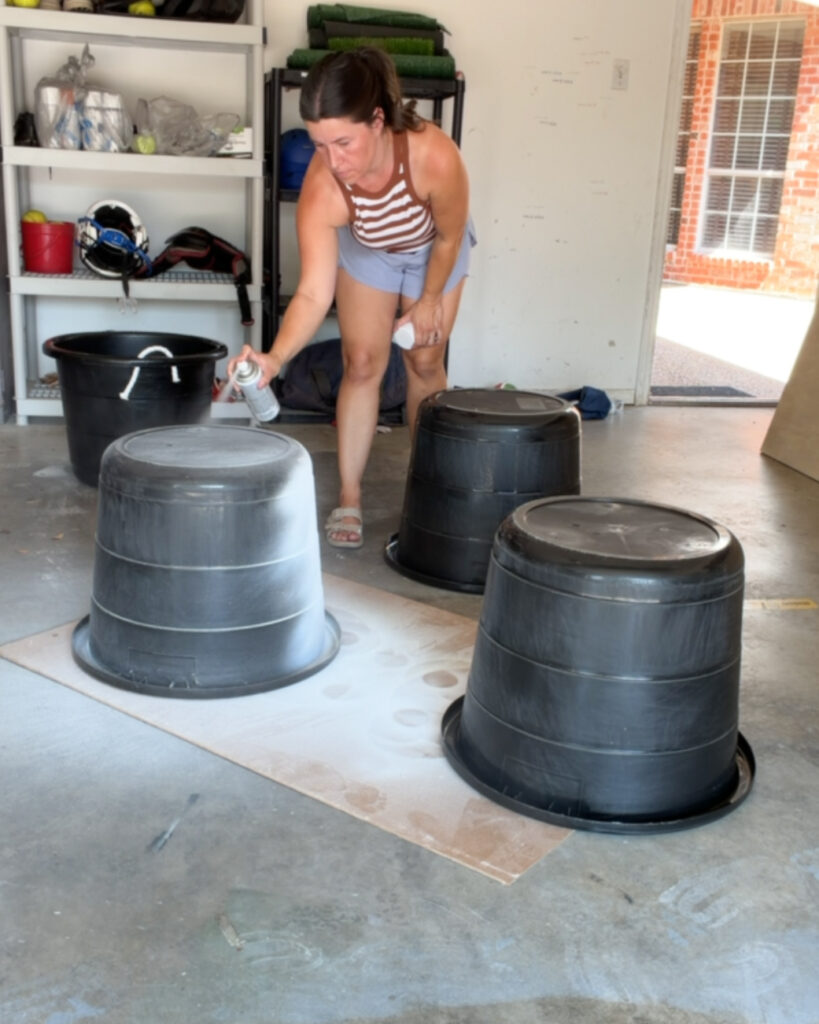
- Prime the tubs and handles
With the handles already bent into their finished position, spray the tubs and PEX with light, even coats of flat white primer/base coat. I used two cans total across all four buckets and handles. The white base helps the orange, lime and grape stay bright over the original dark plastic.
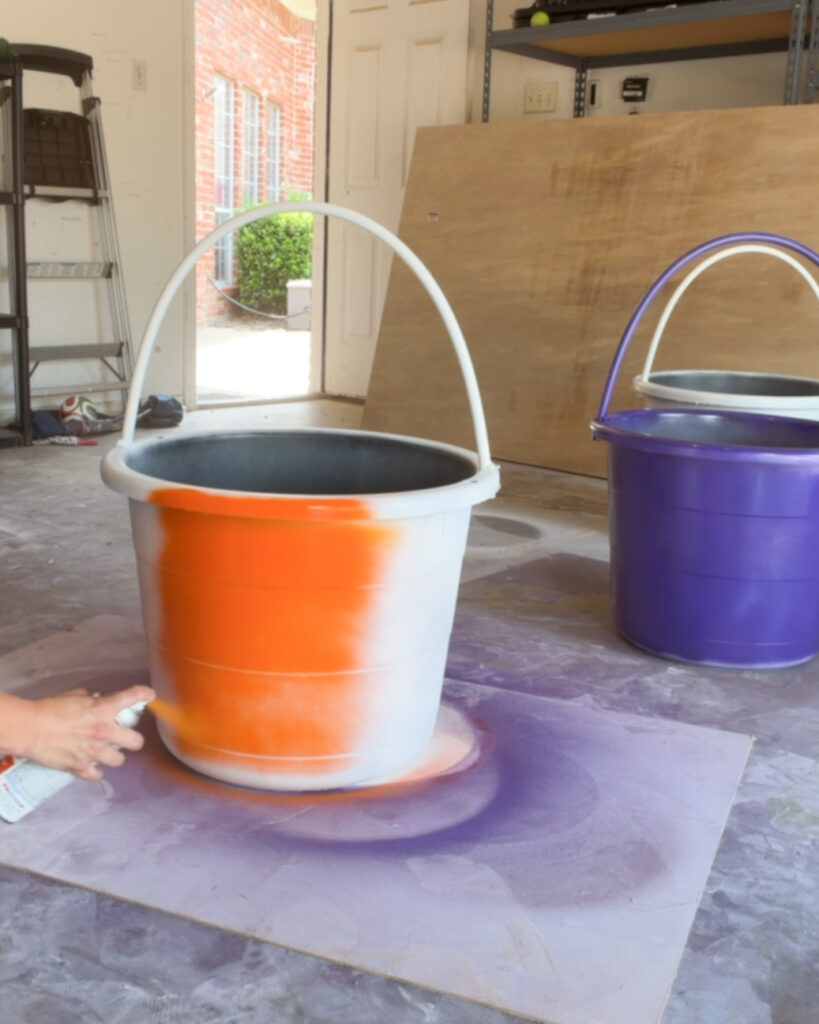
- Add the final colors
Spray one tub and handle Grape, one Real Orange, one Key Lime and one Gloss White. I used approximately two cans of each color. Several light passes work better than one heavy coat and help prevent runs. Follow the dry and recoat times on your spray-paint cans, and allow the paint to cure as long as possible before applying vinyl.
- Create and size the faces
I purchased an SVG design that I liked on Etsy, then used Canva and ChatGPT to help prepare separate face files for cutting. I am not redistributing those artwork files, so I recommend purchasing a bucket-face SVG you like. I tagged options in my LTK. Keep each face proportional rather than forcing it into a square; my finished faces were approximately 10–12 inches across and 10–12 inches tall.
- Cut oversized designs with a Cricut Joy
Because the Cricut Joy has a narrow cutting area, I separated each face into individual elements—eyes, brows, nose, mouth, teeth and hair—and arranged the pieces vertically in Design Space. Any shape that was still too wide was split into smaller sections. I cut everything from black Cricut Smart Vinyl, then reassembled the complete face on the tub using a reference image and the locked overall dimensions.
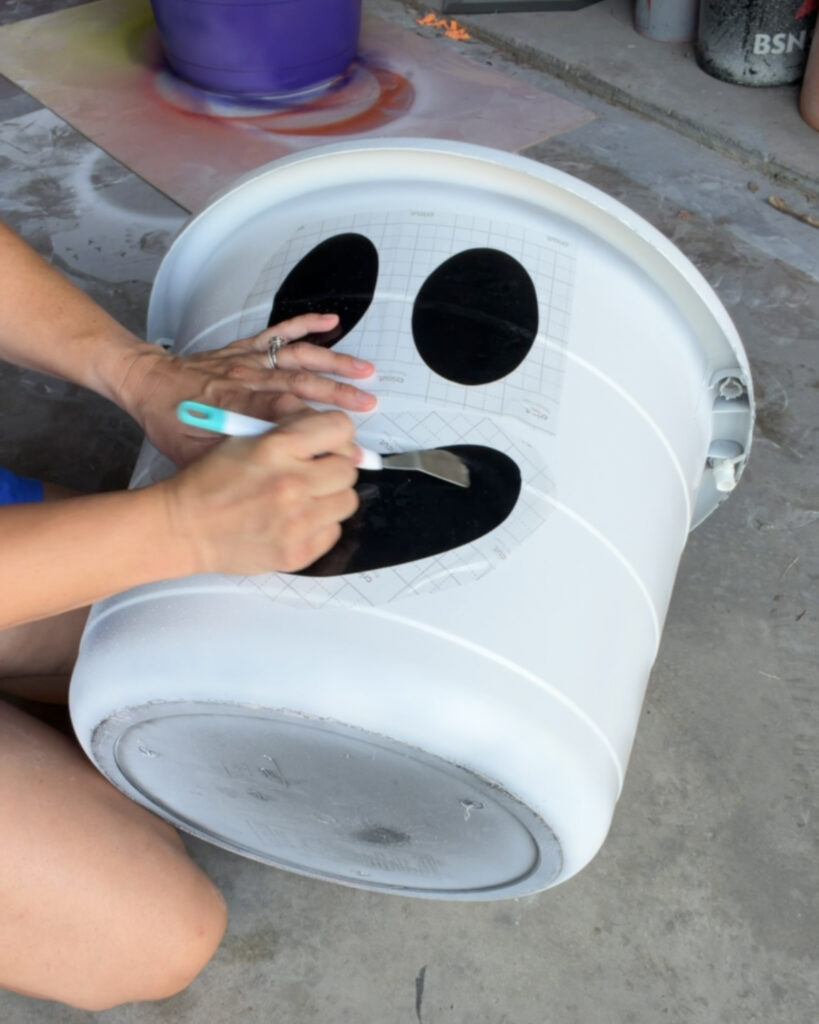
- Apply the vinyl
Position the facial features before pressing everything down firmly. The curved, flexible tubs and spray-painted surface made adhesion trickier than a typical smooth Cricut project. Burnish every edge well and avoid flexing the plastic while you work.
My Cricut Joy sizing and cutting setup
The screenshots below show how I stacked the separated face elements vertically in Design Space. This lets the Joy cut tall projects even though its cutting width is limited. The screenshots are a layout reference—not downloadable artwork.
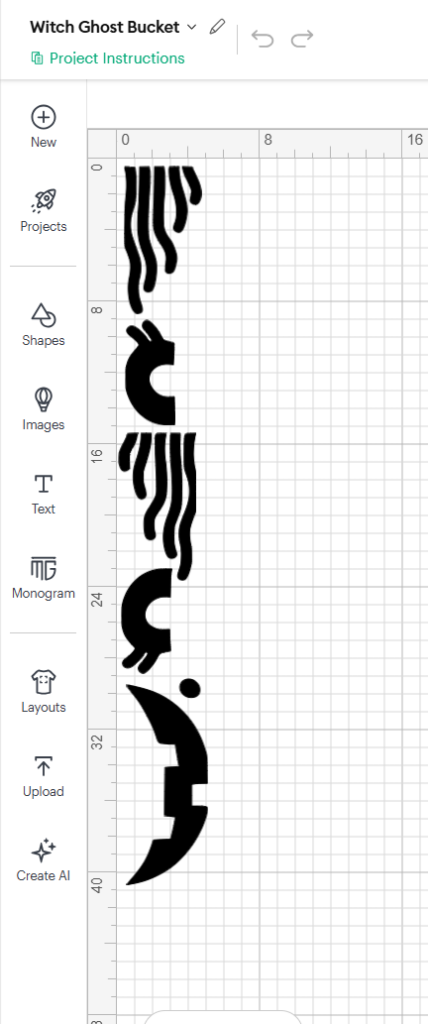
Witch face: side hair, eyes and mouth separated
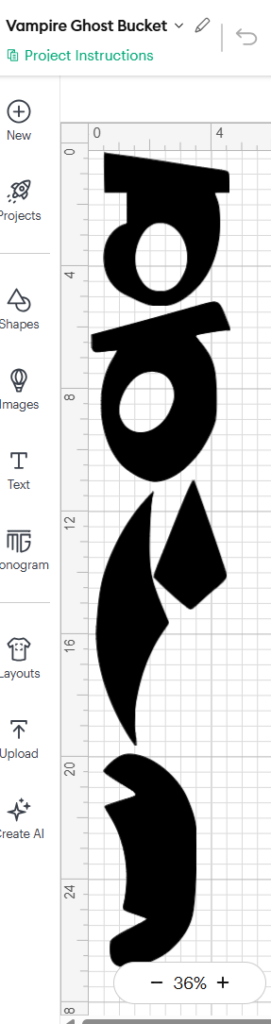
Purple face: eyes, nose and mouth separated
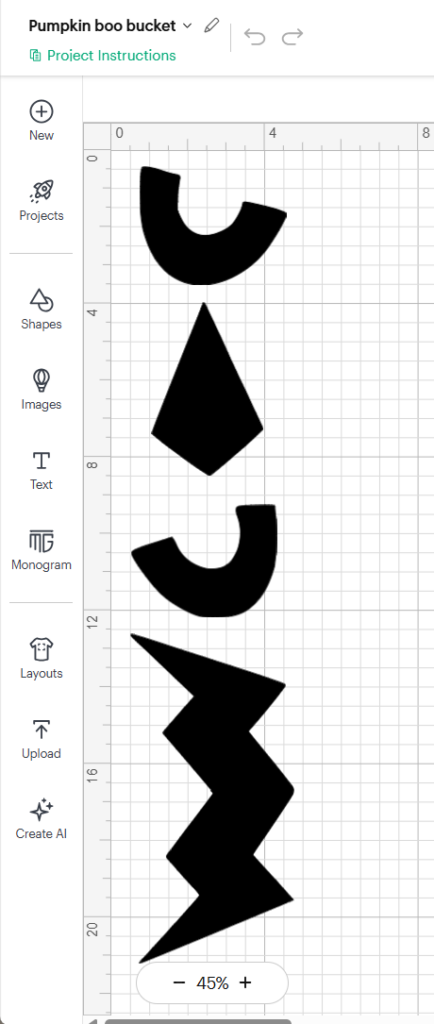
Orange pumpkin: eyes, nose and zigzag mouth
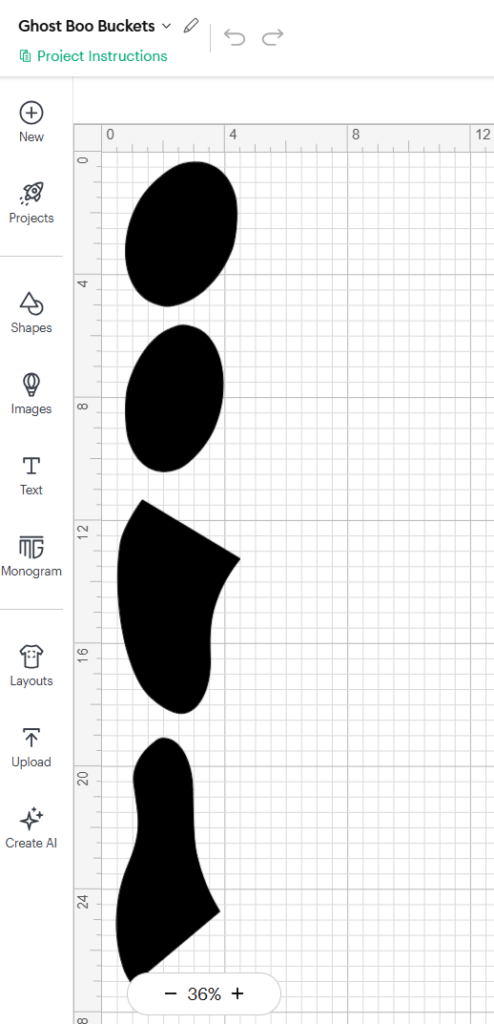
White ghost: eyes and mouth pieces separated
Tips for keeping the faces proportional
- Import the complete face first and lock its proportions before resizing.
- Aim for a finished face about 10–12 inches wide and tall, depending on the design.
- Duplicate or record the overall width and height before separating the pieces.
- Separate the face into logical pieces, then slice only the pieces that exceed the Joy’s cutting width.
- Cut a paper test first and tape it to the tub before using vinyl.
- Use a straight-on reference image and painter’s-tape alignment marks when reassembling the face.
What I would do differently
The vinyl was the fussiest part of this project. It did not want to adhere consistently to the spray-painted plastic, and the orange bucket gave me the most trouble. I used a small amount of spray adhesive to help that face lie down, but I would seriously consider painting the faces next time.
A projector method or paper/vinyl stencil would let you trace and paint each face directly onto the tub. It may take a little longer, but it could be easier than fighting adhesive vinyl—especially if the tubs flex or the paint has not fully cured.
Sealer note
I did not rely on a heavy clear coat over the vinyl. Flexible tubs can cause clear finishes to crack or peel. If you decide to seal yours, test a hidden area first and use very light coats of a compatible clear finish only on the exterior.
Ways to Use Giant Halloween Buckets
- Drink coolers filled with ice, canned drinks, juice boxes or bottled water
- Oversized planters for a nostalgic Halloween front porch
- Holders for giant handmade candy props
- Treat or candy stations at a Halloween party
- Toy, blanket or costume storage during the season
- Photo-booth or party decorations
Frequently Asked Questions
Can I lift the buckets by the PEX handles?
No. The PEX handles are decorative. Always move each bucket by supporting the tub itself, especially when it contains ice, drinks, soil or other heavy items.
Will a plastic tub keep drinks cold?
These tubs are not insulated coolers, but they should work well as party beverage tubs for a few hours. Chill the drinks first, add plenty of ice, keep the buckets in the shade when possible and place a waterproof mat underneath to catch condensation.
Do I need a Cricut?
No. A projector or stencil method may be even easier on a spray-painted surface. Trace the faces, paint them black and allow them to dry completely.
Can I share or download your exact face SVGs?
I purchased artwork that I liked and adapted it for my own project, so I am not redistributing those digital files. I linked similar SVG options you can purchase, then you can use my sizing and Cricut Joy instructions to create the same look.
How large are the faces?
Each finished face is approximately 10–12 inches wide and 10–12 inches tall. The exact measurement varies by character. Keep the proportions locked and use a paper test to see what looks best on your tubs.
How much paint did you use?
For all four tubs and handles, I used two cans of flat white primer/base coat total, then approximately two cans each of Grape, Real Orange, Key Lime and Gloss White.
Final Thoughts
I am completely obsessed with how these turned out. They are oversized, colorful, surprisingly useful and instantly recognizable to anyone who remembers Halloween in the ’90s. Whether I use them as drink coolers, front-porch planters or fill them with giant fake candy, I know they are going to be one of my favorite pieces of Halloween decor for years.
Which bucket is your favorite—the purple vampire, orange pumpkin, green witch or white ghost?
Let me know in the comments, and follow along on Instagram because the giant Ronald McDonald skeleton idea is coming next!
| Shop + watch Shop every supply here. Watch the video tutorial. More budget-friendly Halloween ideas. |
hi! I'm shannon
I’m a wife, mom of three, doctor, and blogger! In 2018, I decided to turn my mom blog, into a personal finance blog so others could follow along on our journey to pay off over HALF a MILLION dollars in student loan and practice start up debt. I hope you enjoy following along, and maybe even find some inspiration along the way.