This post may contain affiliate links, which means I earn a small commission if you purchase something I recommend- at no additional cost to you! As an Amazon Associate I earn from qualifying purchases. Thank you for supporting this blog! Full disclosure here.
This simple DIY Halloween wreath is budget-friendly, festive, and a fun way to tie your Halloween decor together using supplies you might already have on hand.

If you’ve been around here long enough, you know I never let leftover craft supplies go to waste. 👀
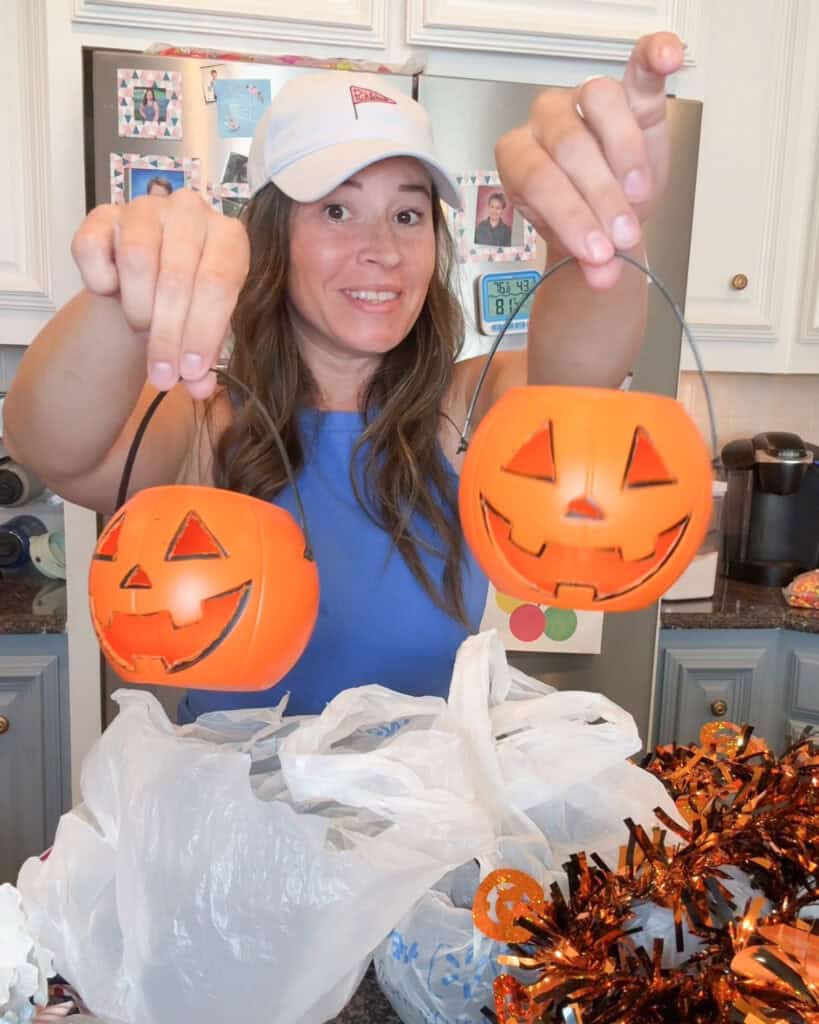
After finishing my DIY Pumpkin Arch Garland for our front porch, I had a few mini pumpkin pails and tinsel garland left over — so of course, I decided to make a matching pumpkin wreath for the front door!

🎃 What You’ll Need:
- 1 large wreath form (mine was an old 4th of July wreath I took apart!)
- 3 strands of 9-foot tinsel garland (from Dollar Tree)
- 6–8 mini pumpkin buckets (I used the 97¢ ones from Walmart)
- Zip ties or floral wire
- Scissors (to poke holes in the pumpkin buckets)
- Optional: Hot knife (if you need to cut out the pumpkin faces)
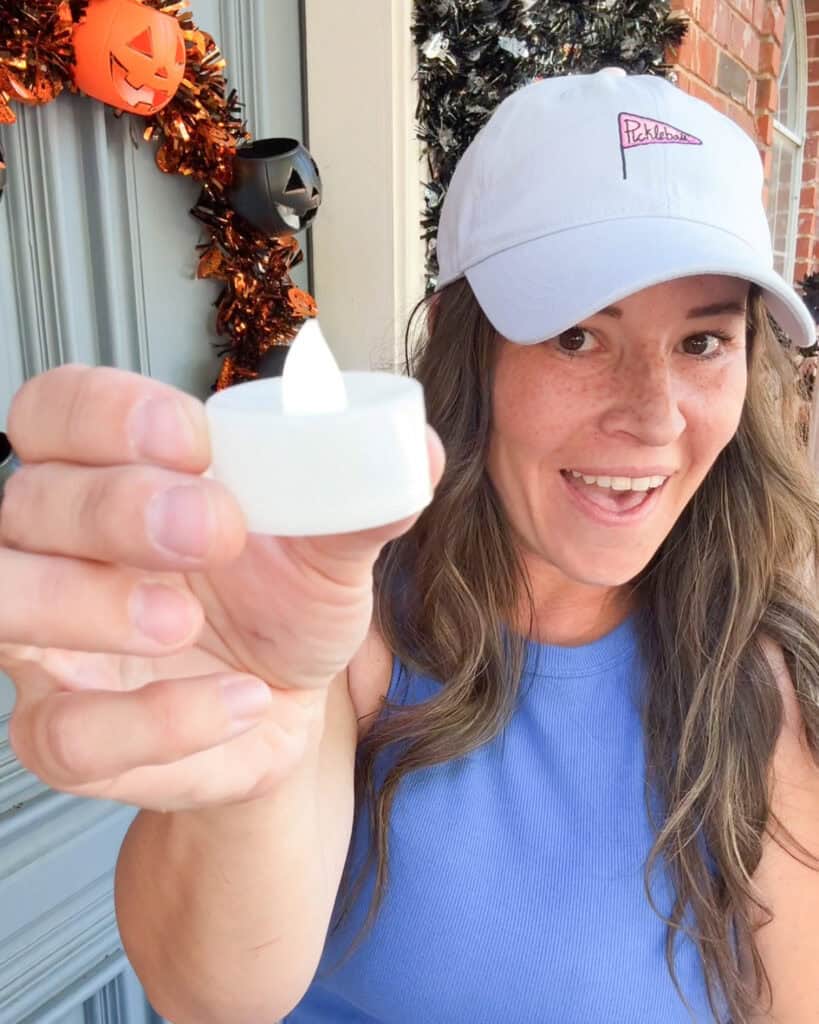
- LED tealights (for that spooky nighttime glow!)
–> Shop supplies here on my LTK!
🕸️ How to Make It:
- Start with your wreath base.
If you have an old wreath form from another holiday, reuse it! I took apart an old Fourth of July wreath and started fresh with the wire base.
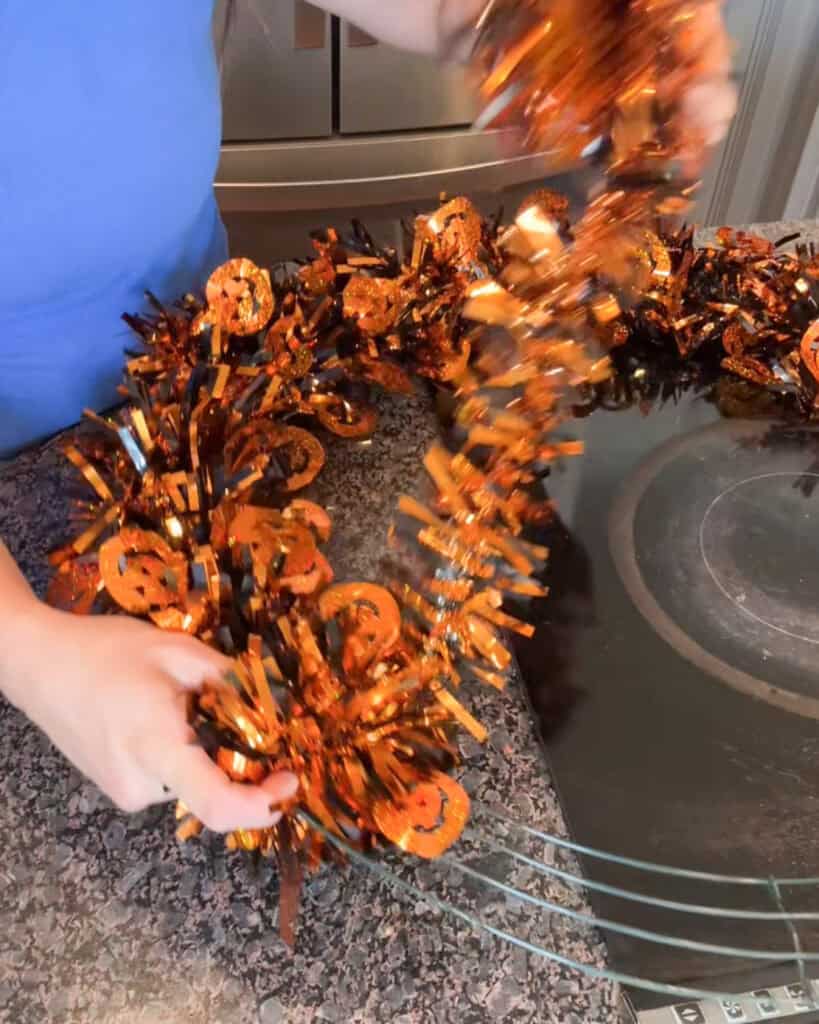
- Wrap your garland.
Take your 3 tinsel garlands and wrap them tightly around the wreath form until it’s full and fluffy. Dollar Tree’s 9-foot garlands work perfectly for this.

- Prep your pumpkins.
Using scissors, poke small holes in the backs of the mini pumpkin buckets so you can thread a zip tie through each one. If your pumpkins still have their faces, use a hot knife to carefully cut them out — it gives them that classic Halloween glow!

- Attach the pumpkins.
Evenly space the pumpkins around the wreath and secure them with zip ties. You can tighten them to adjust the angle so they face forward.

- Add the spooky glow.
Place an LED tealight inside each pumpkin for a cozy flicker that looks amazing at night.
💡 Frugal Tip:
You can find most of these supplies for under $10 total if you shop at Dollar Tree and Walmart — or even less if you’re repurposing old decor like I did!

🏡 The Finished Look:
Once everything’s in place, hang it on your front door and admire your handiwork! It’s the perfect finishing touch if you already have a pumpkin garland or arch on your porch — or a fun standalone wreath if you’re keeping things simple this Halloween.
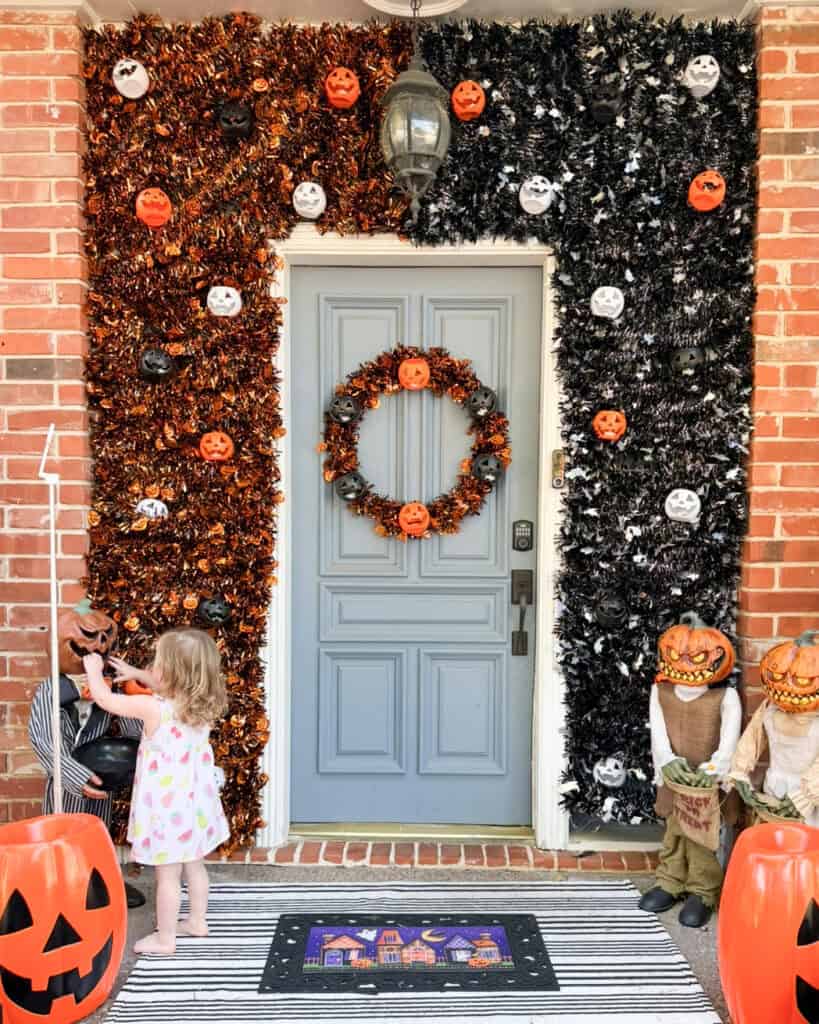
Want to make the matching Pumpkin Arch Garland too?
👉 Click here for the full tutorial!
🧡 Save This DIY for Later:
Pin this project to your Halloween Decor or Frugal DIY boards so you can come back to it next spooky season!
More Halloween DIY Fun:
- Spooky Halloween DIY Lawn Decorations
- DIY $4 Halloween Witch Wreath
- Bat Wreath $3 DIY for Halloween
- Halloween Play Dough DIY
- DIY Halloween Decor Ideas
- Kid Costumes for Halloween DIY Ideas
- Halloween Pumpkin Upcycle DIY for Kids
- DIY Halloween Spider Craft
- Disney Pumpkin Painting Ideas
- DIY Pumpkin Decor Ideas
- 5 Easy Halloween DIY with Pool Noodles
- Halloween Pool Noodle Candles

hi! I'm shannon
I’m a wife, mom of three, doctor, and blogger! In 2018, I decided to turn my mom blog, into a personal finance blog so others could follow along on our journey to pay off over HALF a MILLION dollars in student loan and practice start up debt. I hope you enjoy following along, and maybe even find some inspiration along the way.