This post may contain affiliate links, which means I earn a small commission if you purchase something I recommend- at no additional cost to you! As an Amazon Associate I earn from qualifying purchases. Thank you for supporting this blog! Full disclosure here.
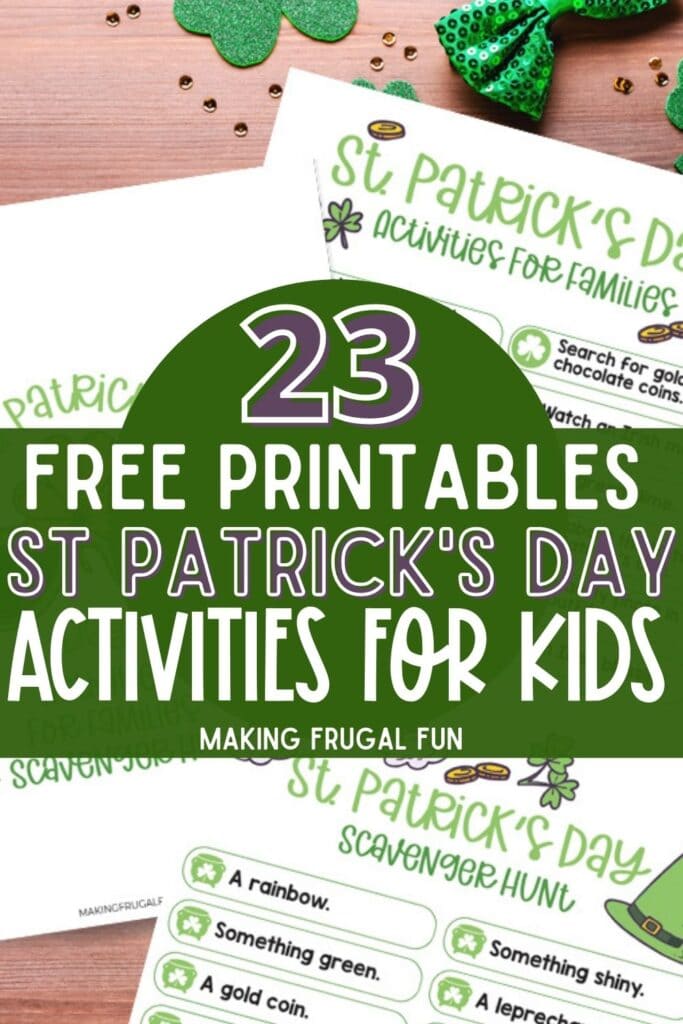
Make this easy DIY St. Patrick’s Day Felt Garland this year for some festive decor! You don’t need a sewing machine or even any glue to make this fun shamrock garland!
Crafting home decor doesn’t have to be time-consuming or expensive! We love coming up with ideas that are easy to put together and will add a seasonal pop of joy to your home!
How to Make a St. Patrick’s Day Felt Garland
The easiest way to make this (and the quickest!) is to use the no-sew, no-glue option! It’s as simple as cutting ribbon, slicing paper, and pressing them together.
See the full instructions and tips for using that method, as well as other variations if you want to mix it up below!
Supplies needed for this St. Patrick’s Day Felt Garland
- Felt Shapes for St. Patrick’s Day (we used these big felt shamrock stickers from Amazon to make this craft so easy!)
- Ribbon
- Scissors or Utility Knife
- Hot Glue (optional)

Step 1: Cut your ribbon to the length you want your garland to be. Make sure to leave space on each end to hang it.
If you use a grosgrain or satin ribbon, use a small flame to seal the ends of the cut ribbon to keep it from fraying.

Step 2: Decide a pattern for your St. Patrick’s Day felt garland. Feel free to test out the spacing before attaching them to the ribbon with adhesive!

Step 3: If you purchased the felt shamrock stickers we linked to on Amazon (or are using other similar ones), carefully cut using scissors or a utility knife (we recommend using the knife!) a strip wide enough to adhere your ribbon to it.
Don’t press the blade in too deep or you’ll cut thru the felt. Cut just deep enough to cut the paper. Peel off the cut strip of paper to expose the adhesive.
If you’re using twine or string, skip this step, and read further instructions below.

Step 4: Press the ribbon onto the exposed adhesive. Be sure your ribbon is “right side” down.
If using twine or string or even thin ribbon, you will need to use hot glue to adhere to the felt pieces. They don’t have enough flat surface area to stick well to the adhesive of the sticker on their own.

Step 5: Repeat step 4 until you’ve attached all the felt pieces attached to your length of ribbon to complete your garland!
Be sure to check for twists in your ribbon before attaching each piece to keep you from having to fix your work later.

DIY St. Patrick’s Day Felt Garland Variations
- Shapes. You don’t have to JUST use shamrocks! Rainbows, pots of gold, gold coins, etc are all good ideas for this felt garland too!
- Colors. The felt shamrock stickers we linked to include a lighter green color, as well as white so feel free to mix up your pattern and colors!
- Ribbon. Feel free to replace the St. Patrick’s Day ribbon with twine or string. If you use this method, you will likely need to glue the felt pieces to the garland instead of using the stick method.
Can I hang this St. Patrick’s Day Felt Garland outside?
If you want to hang this outside, keep in mind that it can be windy in the spring! Rain can also be a factor. Make sure your garland is secured against rain and wind, and make sure your adhesive will hold up under the weather too!
Want more St. Patrick’s Day ideas?


hi! I'm shannon
I’m a wife, mom of three, doctor, and blogger! In 2018, I decided to turn my mom blog, into a personal finance blog so others could follow along on our journey to pay off over HALF a MILLION dollars in student loan and practice start up debt. I hope you enjoy following along, and maybe even find some inspiration along the way.