This post may contain affiliate links, which means I earn a small commission if you purchase something I recommend- at no additional cost to you! As an Amazon Associate I earn from qualifying purchases. Thank you for supporting this blog! Full disclosure here.
This post is sponsored by Balloon Time and they are celebrating 40 years as a trusted partner for your celebrations big and small! Thank you for supporting the brands we love!

If you’ve ever admired those beautiful balloon garlands at parties but assumed they were too complicated or time-consuming, you’re not alone.
The good news? You can create a stunning balloon display at home, without damaging your walls, hiring help, or spending hours on setup.
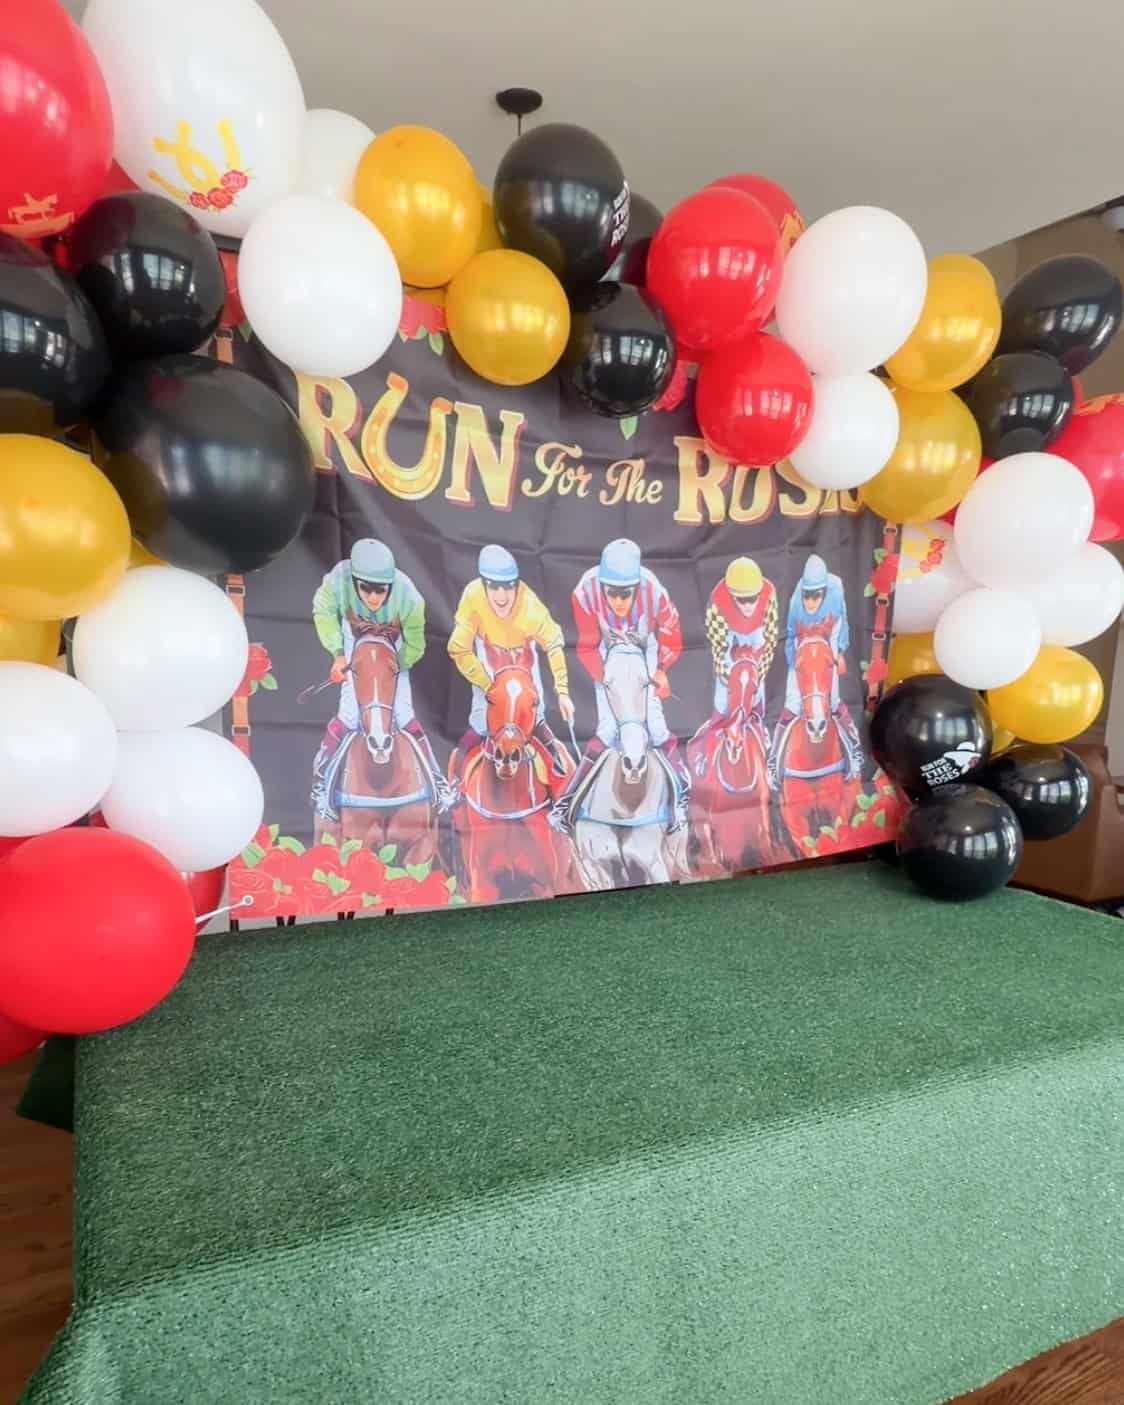
This simple method completely transformed my Kentucky Derby party setup, and it’s now one of my favorite go-to decorating tricks.
Why Balloon Garland Backdrops Are the Ultimate Party Upgrade
Balloon garlands instantly make any space feel styled, festive, and elevated.
They work for:
- Birthday parties
- Baby showers
- Holiday gatherings
- Backyard events
- Special Events or Themes (Kentucky Derby parties, Graduations, and more!)
And when done right, they look like professional decor.
The Secret to an Easy Balloon Garland Setup

The biggest game-changer? Keeping the process simple.
Instead of attaching balloons directly to walls or ceilings, I used an over-the-table party stand to hang my garland. This eliminates the need for tape, hooks, or anything that could damage your space.
It also makes setup faster and way less stressful.
Step-by-Step: How to Make a Balloon Garland at Home
Step 1: Inflate Your Balloons Quickly

Start by inflating your balloons using a Balloon Time air inflator.
This makes a HUGE difference. You can blow up multiple balloons in minutes, saving time and effort.

Balloon Time helium tanks and inflators are such an easy way to completely transform your party space right at home, and they are celebrating 40 years as a trusted partner for celebrations big and small.
Step 2: Build Your Garland

Once balloons are inflated, start creating your clusters.
Tie together 2 balloons of the same color, then take another tied together set of 2 in the same color and twist them together. This creates a cluster of 4 balloons in the same color.
This clustering method is what makes professional garlands look full and dimensional instead of flat and boring. Every few clusters, step back and check the overall shape as you attach them to the stand.
Create enough clusters in alternating colors to fill your desired garland length.

Step 3: Hang Using a Party Stand
Instead of attaching your garland to a wall, tie each cluster with a small piece of ribbon to an over-the-table party stand.
This creates a floating, professional look without any wall damage (it’s just REALLY easy!)
Step 4: Adjust and Style
Fluff your balloons, adjust spacing, and add any themed elements (like florals for a Kentucky Derby “Run for the Roses” look).

Why This Method Works So Well
- No wall damage
- Faster setup
- Beginner-friendly
- Reusable setup
- Looks professionally styled
It’s the perfect combination of easy and impactful.
Perfect for Your Next Party
This balloon garland method is ideal for:
- Kentucky Derby parties
- Spring hosting
- Baby showers
- Birthday parties
- Backyard gatherings
Once you try it, you’ll realize how simple it is to create a beautiful, styled space at home.
Watch the Full Setup + Get Supplies
If you want to see exactly how this came together, you can watch the full setup here.
And if you want to grab the same electric air inflator I used, you can find it here.
Final Thoughts
You don’t need to be a professional party planner to create a stunning setup.
With the right tools and a simple approach, you can completely transform your space in a short amount of time.
Balloon garlands are one of those small details that make a BIG impact—and this method makes them accessible for anyone.
hi! I'm shannon
I’m a wife, mom of three, doctor, and blogger! In 2018, I decided to turn my mom blog, into a personal finance blog so others could follow along on our journey to pay off over HALF a MILLION dollars in student loan and practice start up debt. I hope you enjoy following along, and maybe even find some inspiration along the way.