This post may contain affiliate links, which means I earn a small commission if you purchase something I recommend- at no additional cost to you! As an Amazon Associate I earn from qualifying purchases. Thank you for supporting this blog! Full disclosure here.
If you’ve seen our Christmas driveway setup, you know we love going all out with light-up arches — we usually line the entire drive with ten of them each year! ✨ This fall, I decided to make a Halloween version, and I love how it turned out.
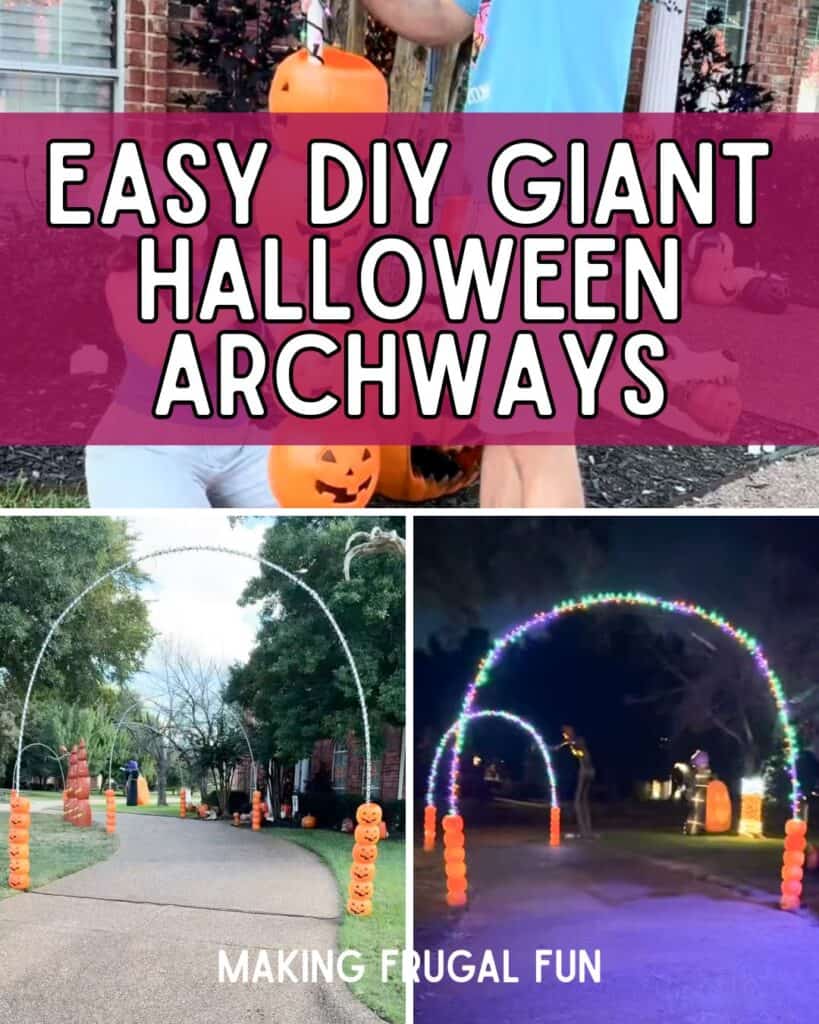
Last year, we tried to create full pumpkin bucket arches over the driveway, but they ended up being way too heavy and eventually collapsed (DIY fail 😅).
This year, we took a simpler route — and it worked perfectly! Instead of attaching the buckets to the top, I placed them at the base of each arch, creating a fun, colorful glow without all the extra weight. It’s festive, easy, and so budget-friendly.
🎃 Why You’ll Love This DIY
- Adds a magical glow to your Halloween yard without spending much
- Uses inexpensive materials you can grab at Home Depot
- Takes less than an hour per arch to assemble
- Works perfectly for Halloween and can easily transition to Christmas later
🧰 Supplies for Each Arch
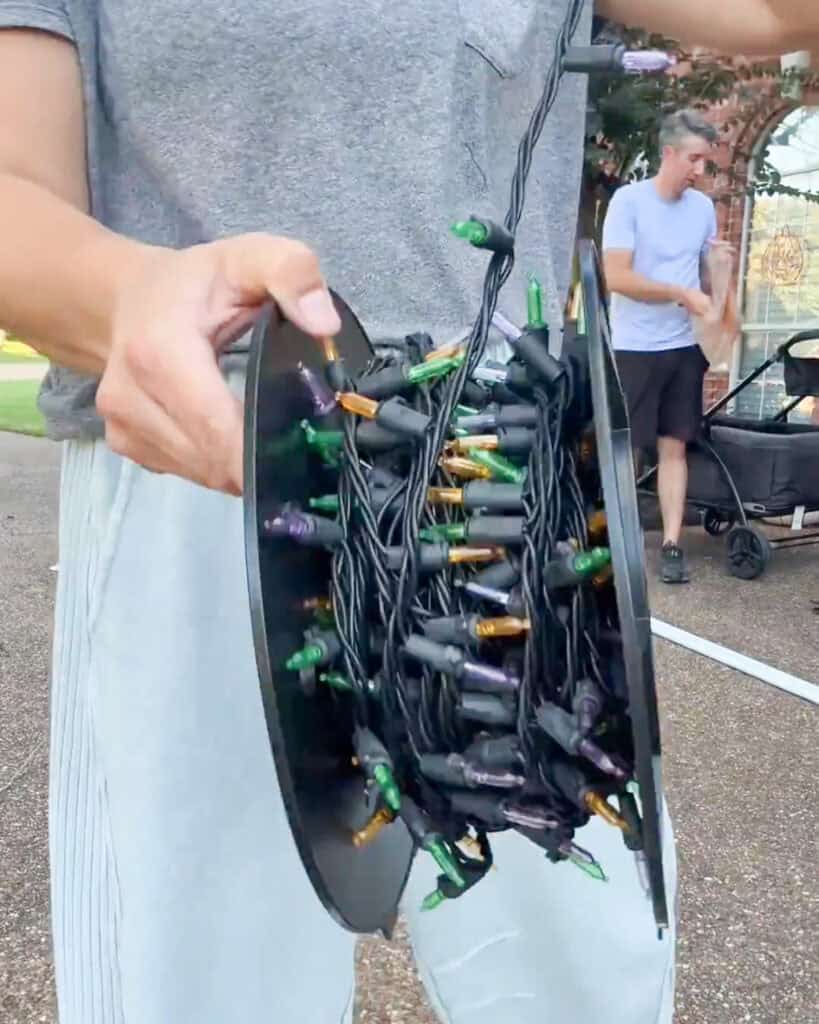
You’ll need just a few simple materials for each archway:
- (3) ¾” x 10 ft PVC pipes
- (2) ¾” PVC-lock couplings
- (1) strand of 300-count multicolor lights (or any color you like!)
- Zip ties to secure the lights
- (2) ½” rebar rods, cut to 3 ft each (hammer about 1 ft into the ground)
- Pumpkin buckets for each side of the archway (I used classic orange ones, but you could mix in white or black for variety!)
- 2.5 inch (64mm) hole saw drill attachment and drill (to make the holes in the bottom of the buckets)
— >Shop all the supplies here on my LTK!
🛠️ How to Assemble the Arches
- Use the PVC-lock couplings to connect three 10-foot pipes together for each archway.
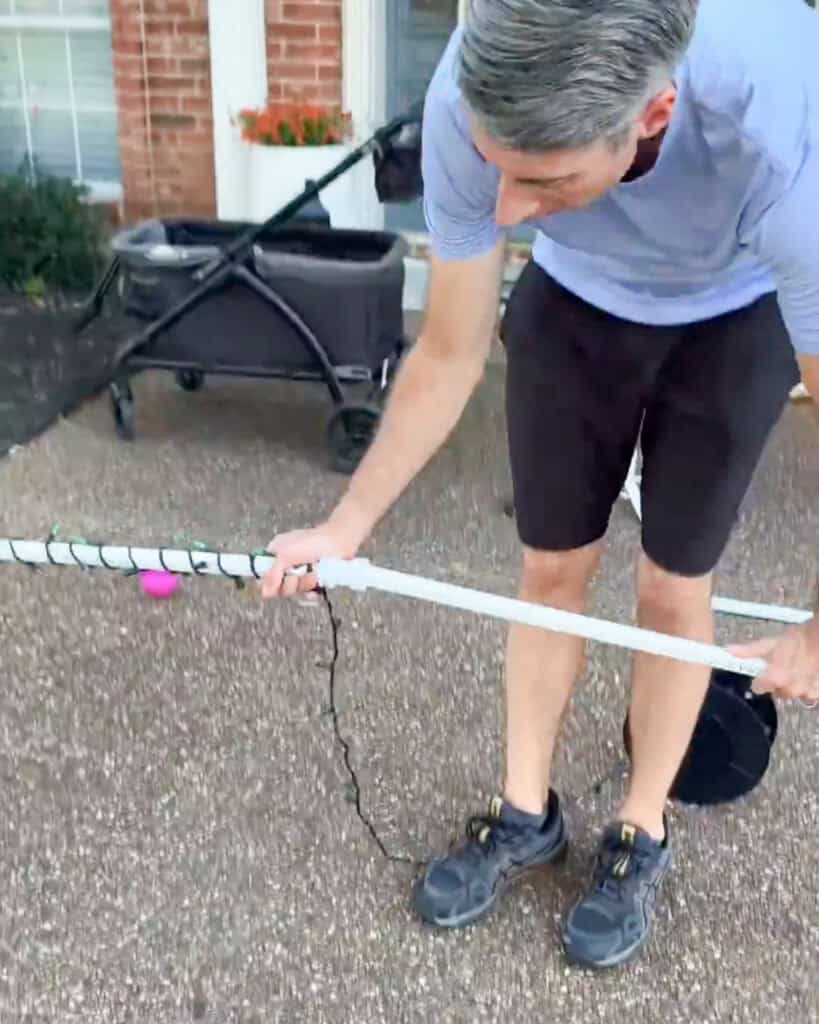
- Add the lights
- Wrap your light strand around the PVC pipe, starting from one side and working your way up and over.
- Use zip ties every few inches to keep the lights secure and evenly spaced.
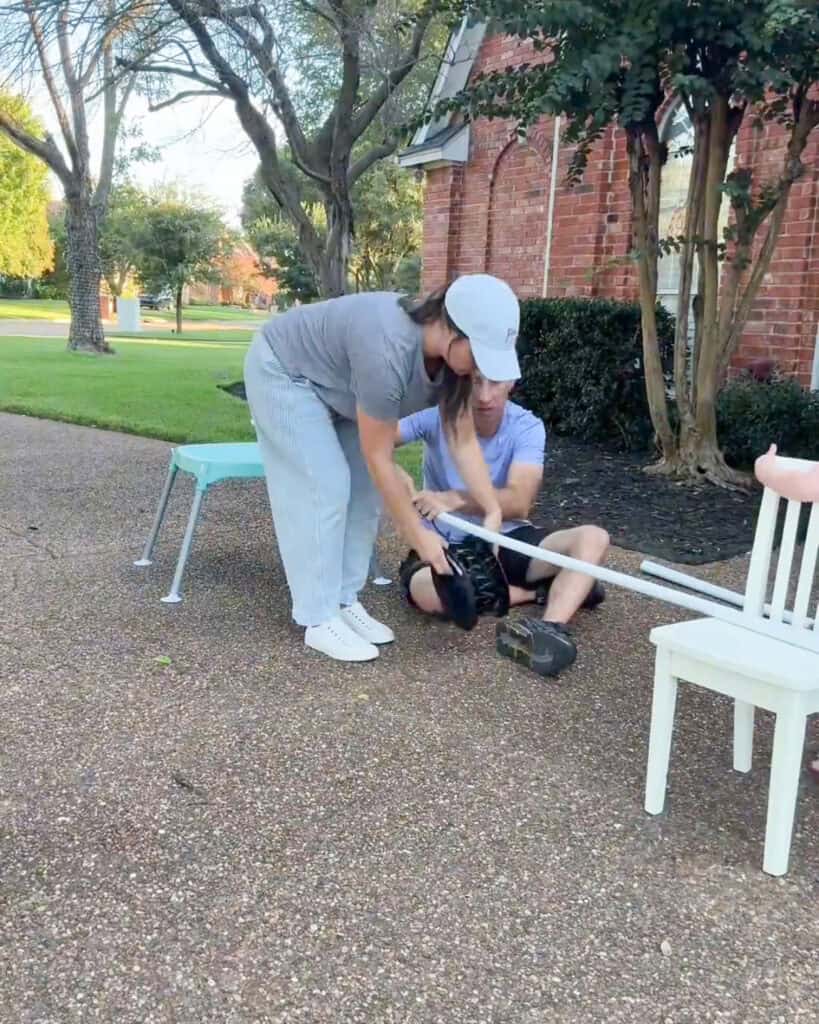
- Create the arch shape
- Hammer the two pieces of rebar into the ground about 1 foot into the ground on each side of your driveway. (so the remaining 2 feet are ready to support the PVC pipe)
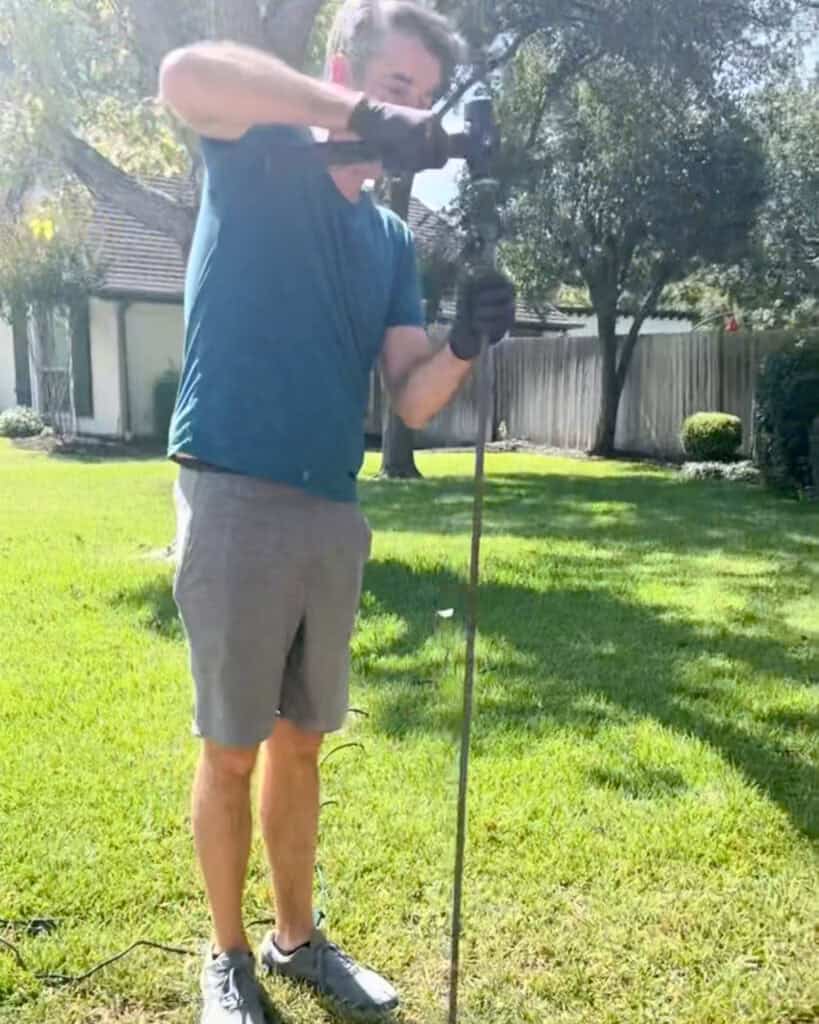
- Slide one end of a PVC pipe over each piece of rebar to form the arch.
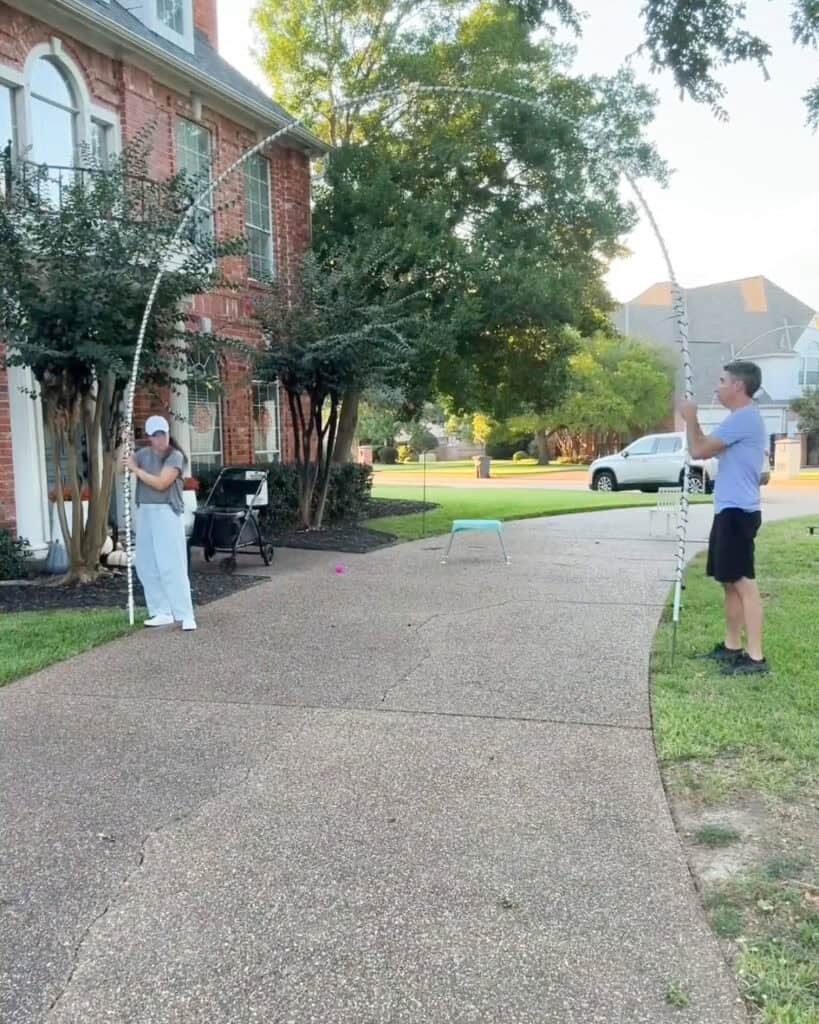
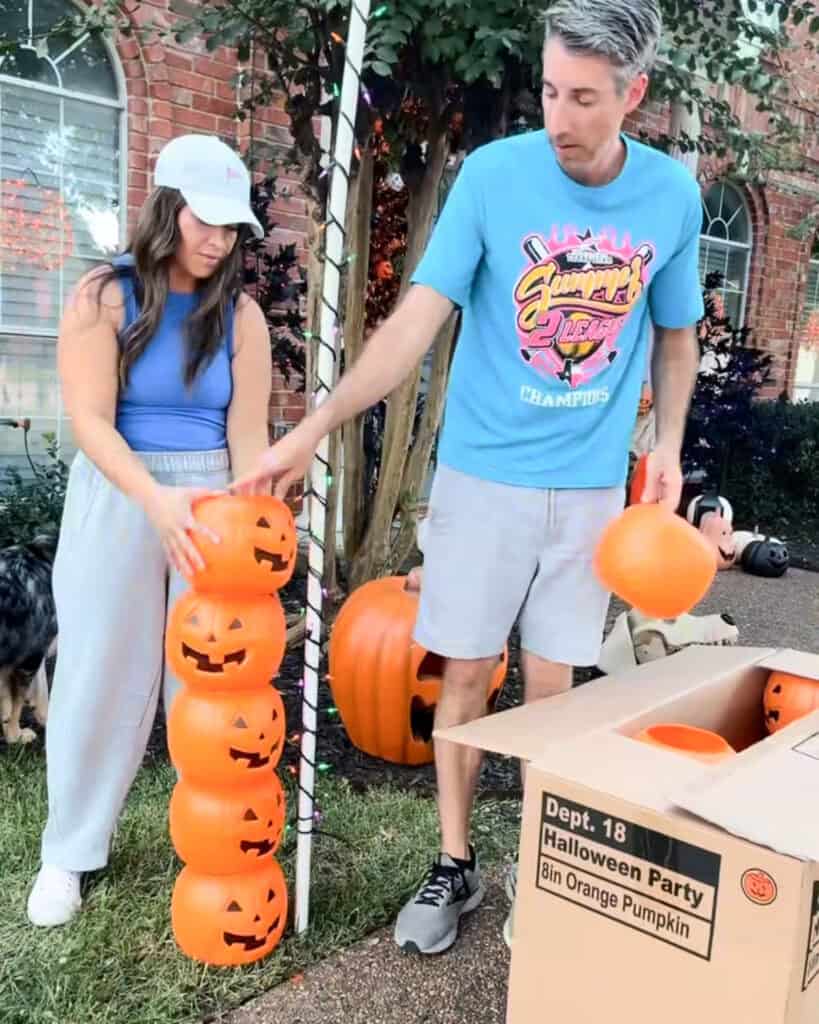
- Drill holes in the bottom of each pumpkin bucket and remove the handles.
- Use a 2.5 inch (64mm) hole saw attachment to make holes in the buckets for the pole with lights to feed through.
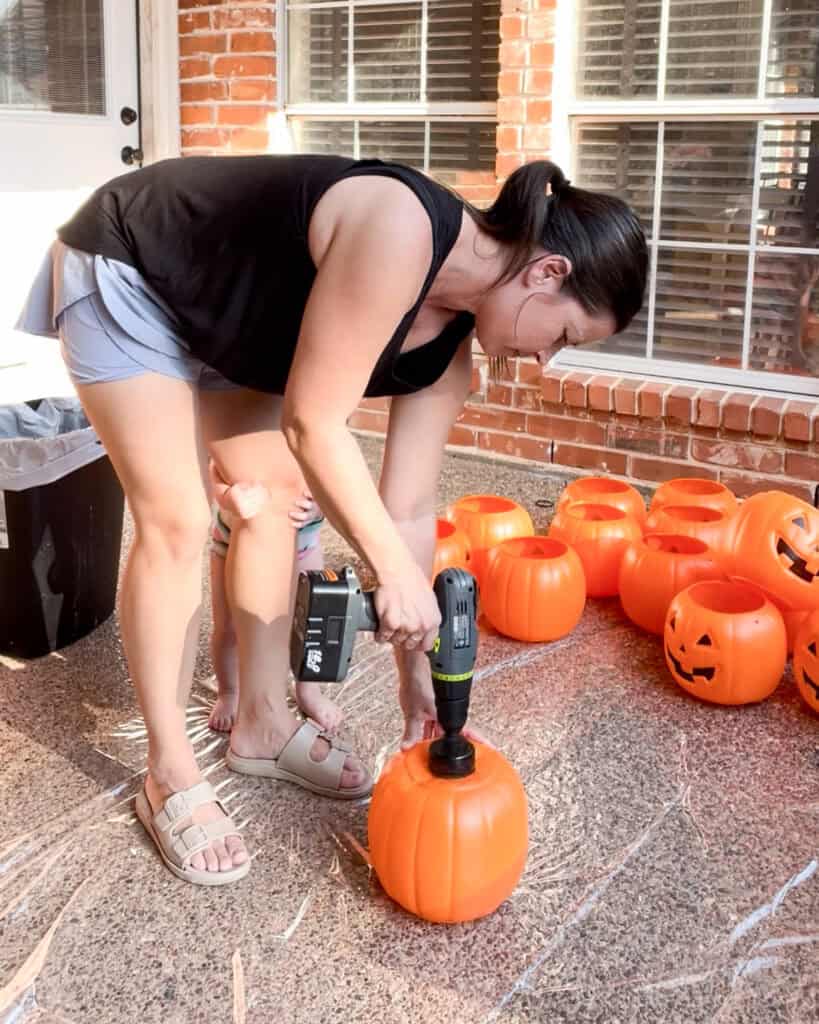
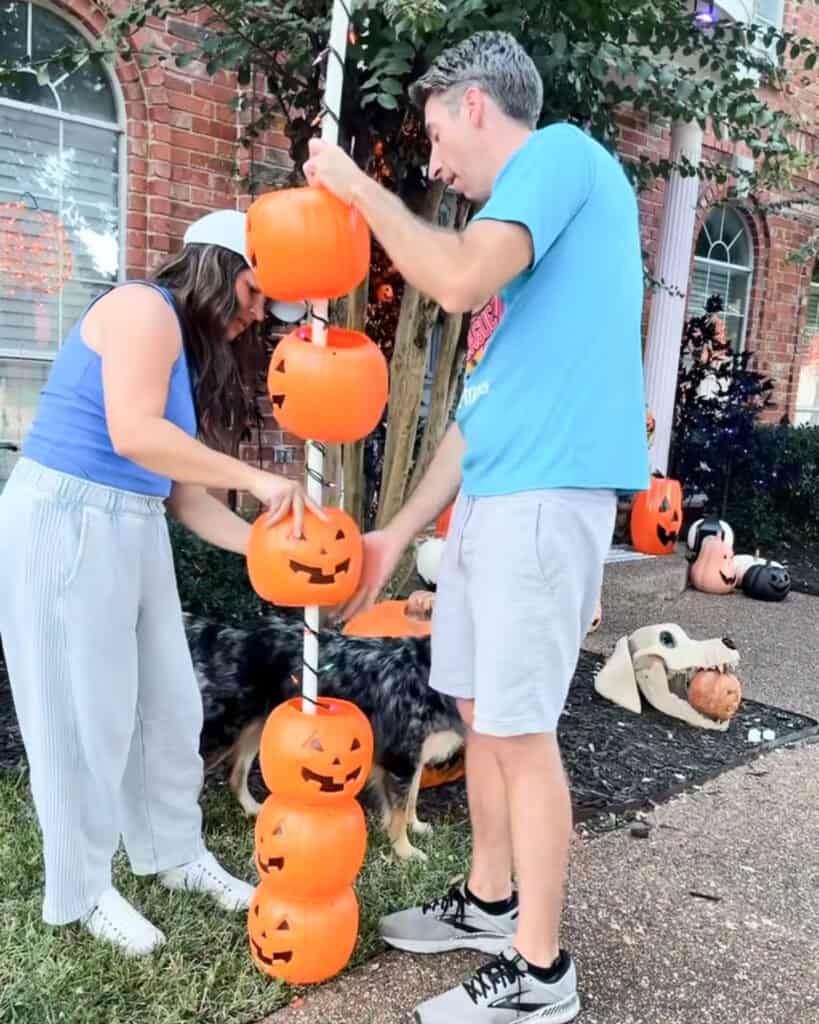
- Add your pumpkin buckets
- Feed the PVC pipe through the hole at the bottom of each pumpkin and add 5 or 6 pumpkin buckets to each side at the base.
- This step adds color, character, and a little Halloween magic to your driveway without weighing down the arches! 🎃
- Light it up!
- Plug in your light strand to test your setup. Adjust the positioning if needed so your arches are evenly spaced and secure.
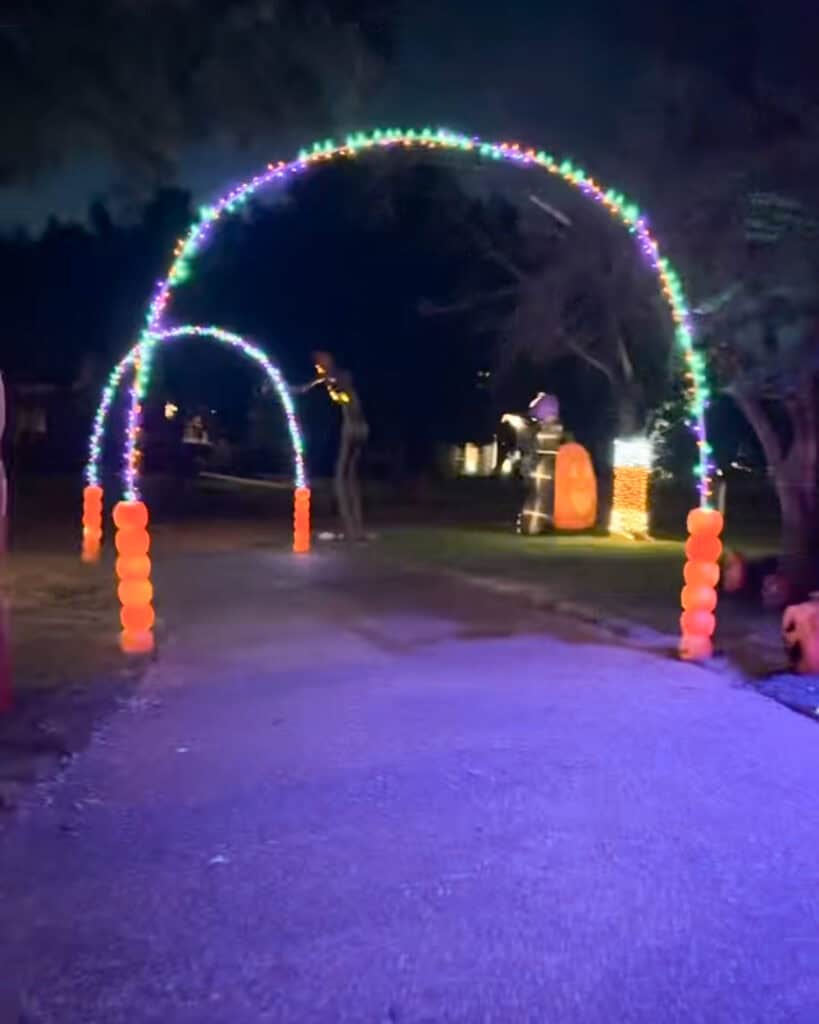
🕸️ Tips & Tricks
- If you live in a windy area, make sure the rebar is hammered deep enough for stability.
- Try alternating orange and purple lights for a spookier vibe!
- Want to reuse these for Christmas? Simply swap out the pumpkin buckets for small holiday planters and change your light color.
💡 Final Thoughts
This easy DIY project gives your front yard a big-impact look without spending a fortune. It’s such a fun way to make your home stand out on trick-or-treat night, and your kids will love running under the glowing arches!
We love projects like this that make holiday decorating fun, frugal, and totally achievable.
✨ Shop the Supplies
–> You can find everything you need here on my LTK!
- PVC pipe
- PVC-lock couplings
- Rebar rods
- Multicolor light strand
- Zip ties
- Pumpkin buckets
hi! I'm shannon
I’m a wife, mom of three, doctor, and blogger! In 2018, I decided to turn my mom blog, into a personal finance blog so others could follow along on our journey to pay off over HALF a MILLION dollars in student loan and practice start up debt. I hope you enjoy following along, and maybe even find some inspiration along the way.