This post may contain affiliate links, which means I earn a small commission if you purchase something I recommend- at no additional cost to you! As an Amazon Associate I earn from qualifying purchases. Thank you for supporting this blog! Full disclosure here.
If you love the look of vintage floral china but don’t love the price tag… this DIY is for you.

I created this entire vintage-inspired tea party set using Dollar Tree finds, and it turned out so pretty you would never guess it cost just a few dollars.
This is one of my favorite ways to elevate a spring table, whether you’re hosting a Mother’s Day brunch, garden party, or just want to make everyday moments feel a little more special.
Why You’ll Love This DIY
- Budget-friendly (everything is from Dollar Tree)
- Customizable with any floral or seasonal napkins
- Looks like vintage or antique china
- Perfect for spring hosting, parties, and holidays
- Easy beginner DIY
Supplies You’ll Need
- Clear glass appetizer plates (Dollar Tree)
- White coffee mugs (Dollar Tree)
- Floral paper napkins (look for vintage-style prints)
- Mod Podge
- Foam brush or paint brush
- Matte white spray paint
- Scissors
How to Make Vintage Tea Party Mugs
This step is so simple but makes the biggest impact.
Step 1: Prep Your Napkins
Separate the layers of your napkin so you’re working with just the top printed layer.

Step 2: Cut Your Design
Cut or tear out the floral pieces you want to use. Don’t worry about perfection—slightly imperfect edges actually help it blend better.

Step 3: Apply with Mod Podge
Brush a thin layer of Mod Podge onto the mug, then gently place your napkin pieces on top.
Use your brush (or even your fingers) to smooth it out carefully.

Step 4: Seal It
Once everything is in place, lightly brush another thin layer of Mod Podge over the top to seal.
Let dry completely.
Tip: Keep designs on the outside of the mug only.
How to Make Vintage-Inspired Plates (The Trick That Makes These Look Expensive)
This is the part that gives you that “real china” look.
Step 1: Flip the Plate Over
You’ll be working on the bottom side of the clear plate.

Step 2: Apply the Napkin Upside Down
Place your napkin design face down on the bottom of the plate using Mod Podge.

This way, when you flip the plate over, the design shows through the glass.
Step 3: Smooth + Seal
Gently smooth out wrinkles and apply a thin layer of Mod Podge to seal.

Let dry completely.
Step 4: Spray Paint the Back
Once dry, spray paint the entire back of the plate with matte white spray paint.

This step is what makes the design pop and gives it that cohesive, vintage china look.
Let dry fully before using.
Important: Is This Food Safe?
Yes—with one key detail.
Because the design is applied to the bottom of the plate, the top surface where food sits remains untouched and food-safe.
For mugs, keep all designs on the outside only and avoid the rim.
These are best for light use and hand washing only.
Styling Your Vintage Tea Party Set
Once everything is dry, you’ll have the cutest mix-and-match set that looks like it came from an antique shop.

Use them for:
- Mother’s Day brunch
- Spring garden parties
- Bridal or baby showers
- Tea parties with kids
- Outdoor picnics
Pair with:
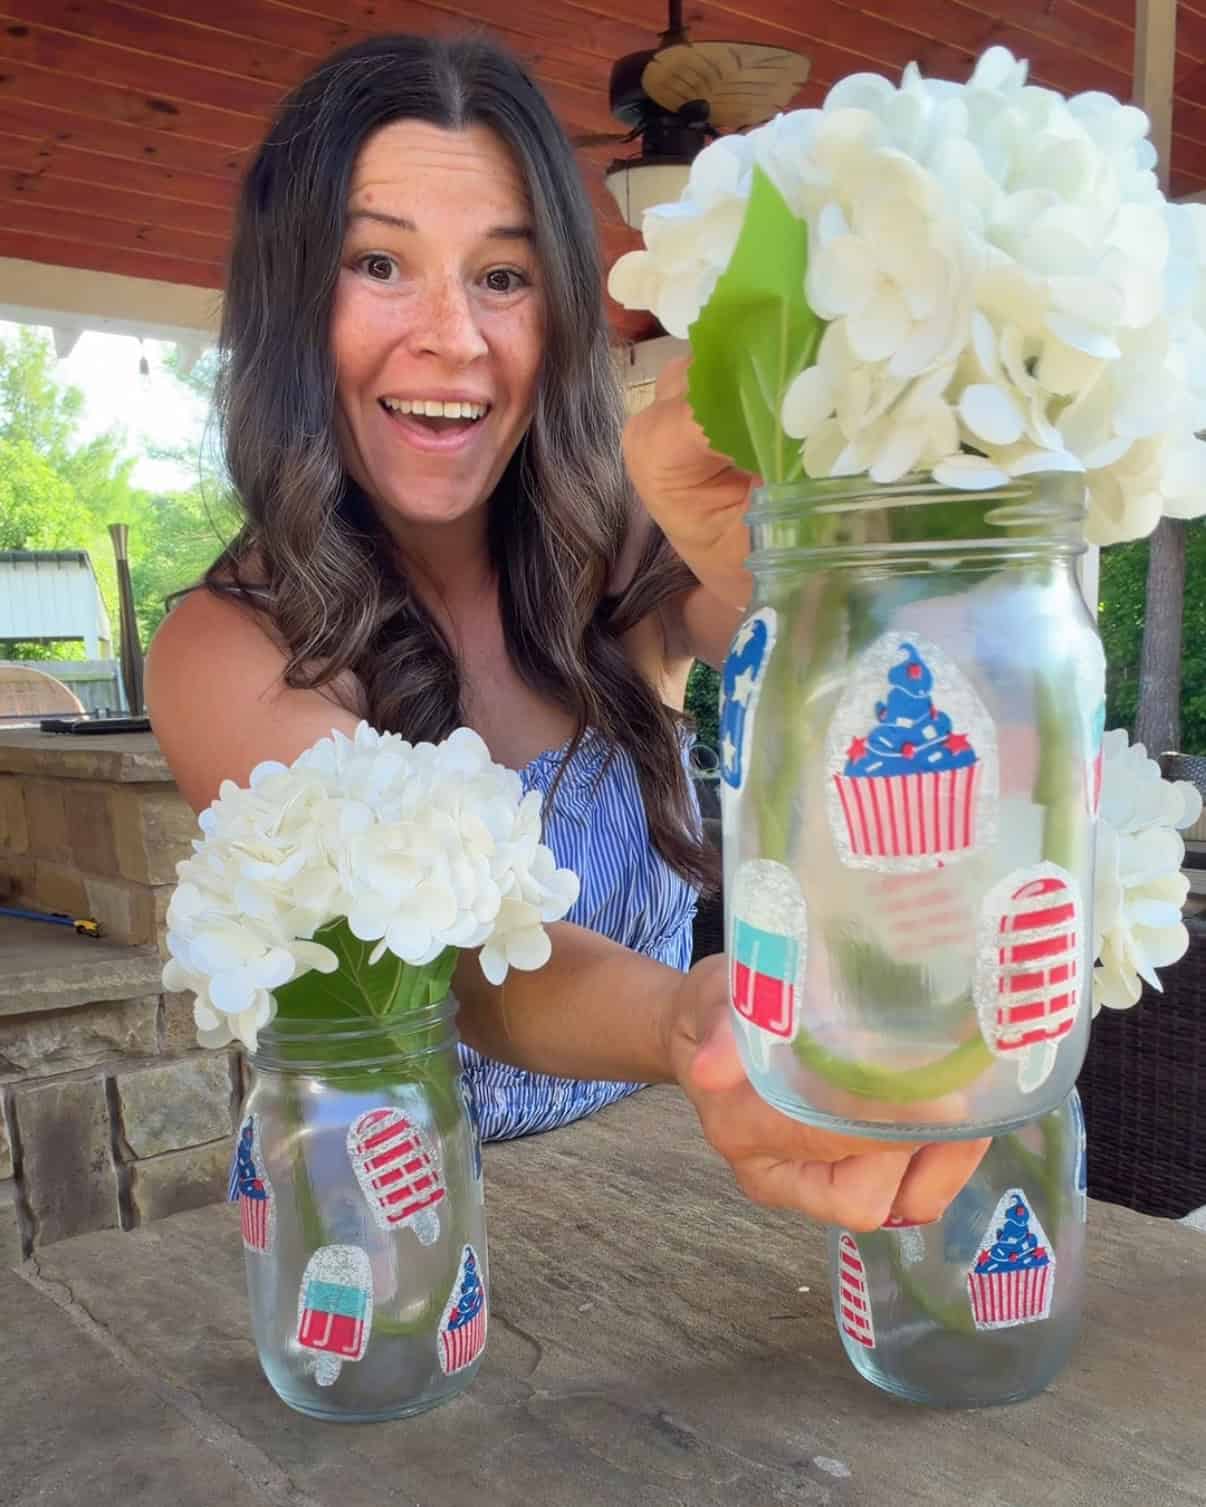
- Fresh flowers (or faux florals)
- Linen napkins
- A simple cake stand or dessert tray
Tips for the Best Results
- Use lighter napkins for a softer, vintage look
- Don’t overdo the Mod Podge—thin layers work best
- Let everything dry fully between steps
- Mix different floral patterns for a collected, eclectic feel

Make It Your Own
One of the best parts about this DIY is how customizable it is.
Try:
- Blue florals for a classic tea party look
- Bright florals for summer hosting
- Pastels for Easter or spring brunch
- Holiday napkins for seasonal entertaining
You can reuse this same method all year long.
Final Thoughts
This is one of those DIYs that feels so simple, but the end result looks incredibly high-end.
It’s proof that you don’t need to spend a lot to create beautiful, memorable moments at home.
If you try this, I would love to see it—tag me over on Instagram so I can share your creations!
And don’t forget to pin this for later so you can come back to it when you’re planning your next party.
hi! I'm shannon
I’m a wife, mom of three, doctor, and blogger! In 2018, I decided to turn my mom blog, into a personal finance blog so others could follow along on our journey to pay off over HALF a MILLION dollars in student loan and practice start up debt. I hope you enjoy following along, and maybe even find some inspiration along the way.