This post may contain affiliate links, which means I earn a small commission if you purchase something I recommend- at no additional cost to you! As an Amazon Associate I earn from qualifying purchases. Thank you for supporting this blog! Full disclosure here.
These DIY yarn Christmas trees are the perfect craft this Christmas! There are so many variations for this Christmas craft, you can customize it to be perfect for you!

Make these adorable Yarn Christmas Trees this year to add to your holiday decor! These are so easy to customize to your own decor style, and each one turns out so cute!
We recently made pom-pom trees too, so if you like this craft idea for Christmas, be sure to check out that idea too!
Make crafting one of your new family traditions for the holidays, pop in a favorite holiday movie and make some delicious hot chocolate and make some memories together!
Outside of your own home decor for Christmas, these yarn wrapped Christmas trees would be perfect to sell at craft fairs too!
Yarn Christmas Tree Variations
Use these ideas to change up how your yarn trees look:
- Yarn. Color, size, thickness – all of those matter when choosing a yarn! I really liked the way the green looked and felt! It was much easier than the big thick hand-knitting yarn.
- Ornaments. Want to add ornaments? Use buttons, pom poms, or sequins to make your tree pretty!
- Garland. Add a ribbon garland if you want to mix it up!
- Star. You can add a star to the top of your trees if you really want to make it festive!
- Fairy Lights. Battery powered fairy lights would also make these super cute!
How to make Yarn Wrapped Christmas Trees
Step 1. Gather your supplies!

You will need:
- Cardboard Cones
- Yarn (any type!)
- Hot Glue Gun
- Scissors
Step 2. Use a hot glue gun to attach the yarn to the cardboard cone. Start at the bottom.
Glue the start of the yarn to the inside of the bottom of the cone. Then run a line of glue around the bottom of the cone, and gently press the yarn on top of it.
Keep doing that until you make it to the top of your cone.

Step 3. Glue all the way to the top, with the final row going around the top of the cone.
Trim your yarn, then use a small dot of hot glue to hold that piece of yarn in place and keep it from unraveling.

Step 4. When they are done, they will look something like this! Check out the variations above this tutorial (scroll up!) to see some ways you can mix it up next time!

Christmas Yarn Trees Tips:
- Yarn. If you use a thicker yarn (like the hand-knitting), keep in mind you will go through a lot more glue!
- Gaps. Don’t leave any space between the rows for the best look.
- Size. Larger cones can take you up to 30 minutes, so keep that in mind when planning to do the craft!
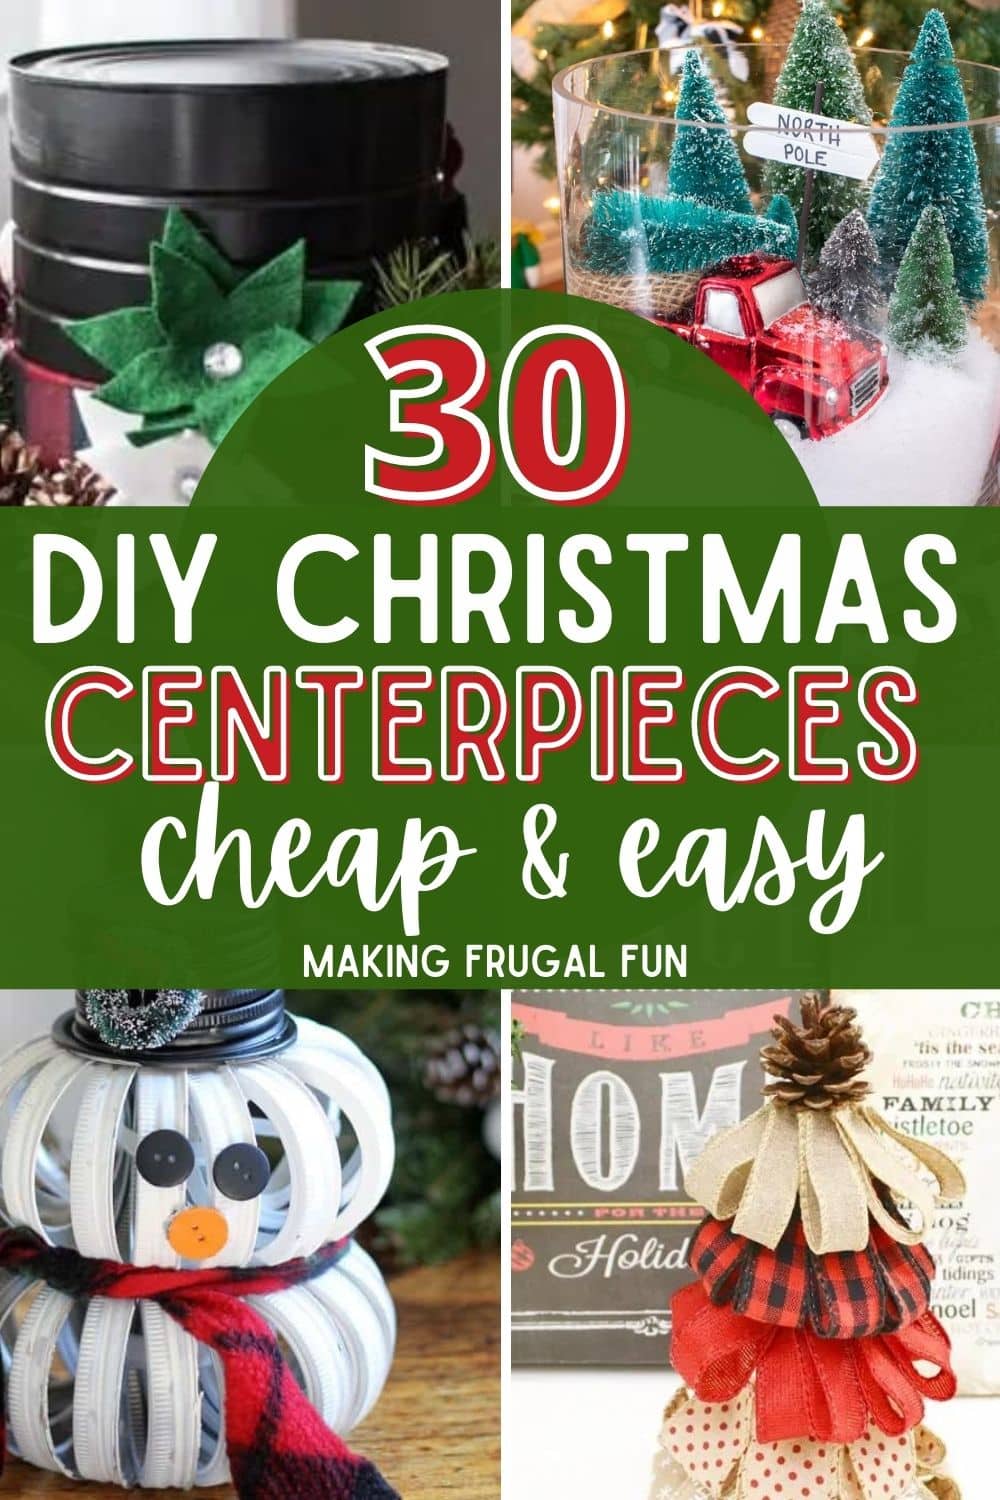
Want more Christmas ideas?


hi! I'm shannon
I’m a wife, mom of three, doctor, and blogger! In 2018, I decided to turn my mom blog, into a personal finance blog so others could follow along on our journey to pay off over HALF a MILLION dollars in student loan and practice start up debt. I hope you enjoy following along, and maybe even find some inspiration along the way.