This post may contain affiliate links, which means I earn a small commission if you purchase something I recommend- at no additional cost to you! As an Amazon Associate I earn from qualifying purchases. Thank you for supporting this blog! Full disclosure here.
If your porch is feeling a little…blah after winter, this is the easiest way to give it a fresh start for spring.

I took a plain coir doormat and turned it into a custom “hello spring” welcome mat using paint — and it completely changed the look of our front porch.
It’s one of those DIYs that’s simple, affordable, and makes a bigger impact than you’d expect.
Why You’ll Love This DIY Doormat
- Budget-friendly (no need to buy a new mat)
- Completely customizable
- Beginner-friendly (no artistic skills required)
- Perfect for seasonal decor
- Makes your porch feel instantly styled
Supplies You’ll Need
Most of these can be found at Walmart:
- Plain coir doormat
- Painter’s tape
- Stencil (grab my free “hello spring” printable below!)
- FolkArt Outdoor Paint
- Stencil brush or sponge brush
- Paper towels
How to Make a DIY Painted Doormat
Step 1: Start with a Clean Mat
Make sure your coir doormat is clean and free of debris so the paint sticks well.
Step 2: Tape Off Your Design
Use painter’s tape or your stencil to map out your design.
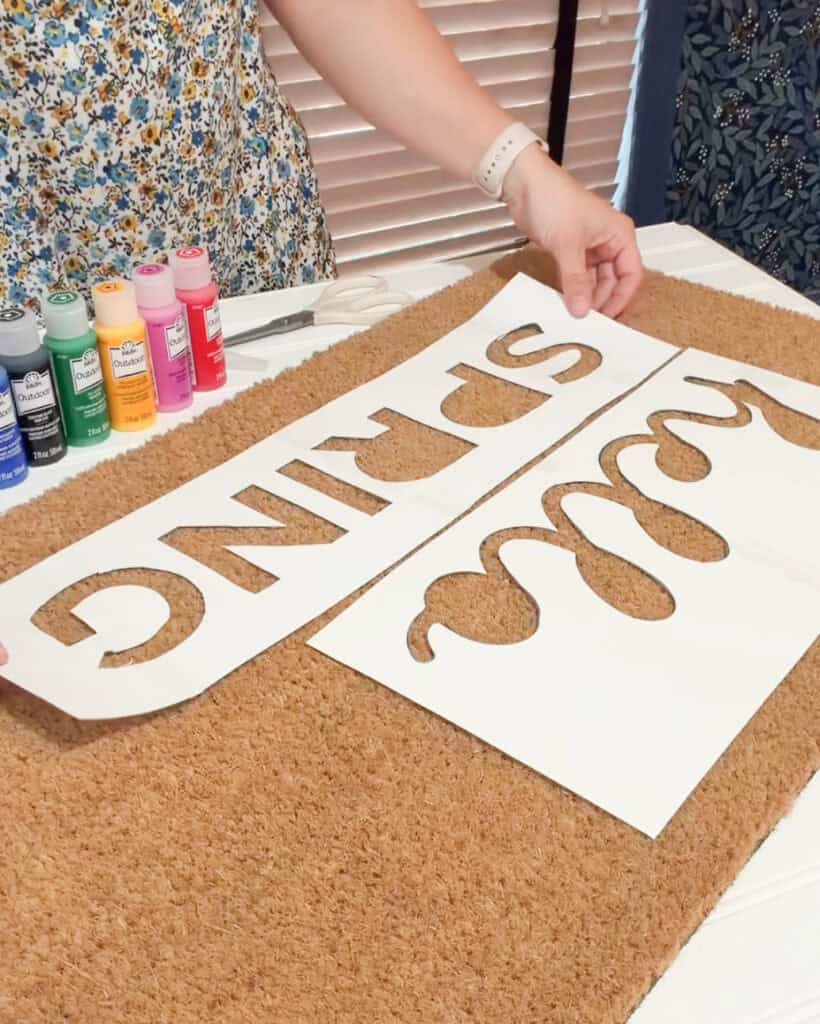
I used a “hello spring” stencil, but you can do:
- “welcome”
- “hi”
- “home sweet home”
- or any seasonal phrase
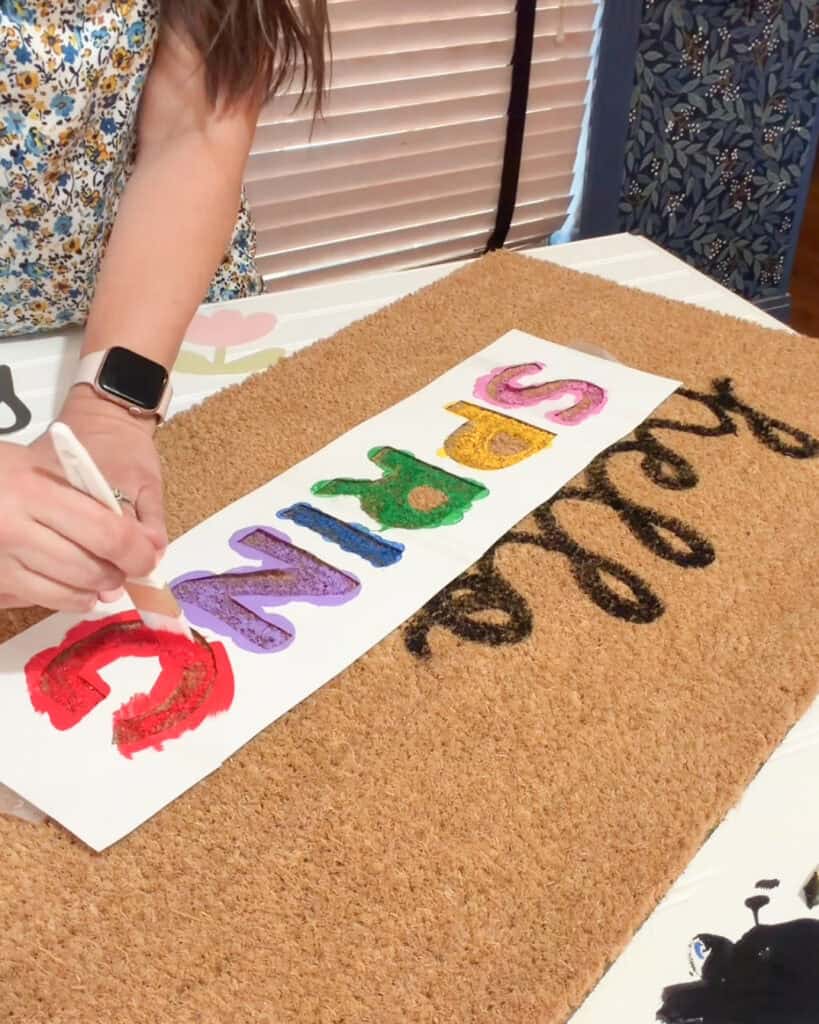
Step 3: Paint Your Design
Using FolkArt Outdoor Paint, dab (don’t brush!) your paint onto the stencil.

This helps prevent bleeding and keeps your lines crisp.
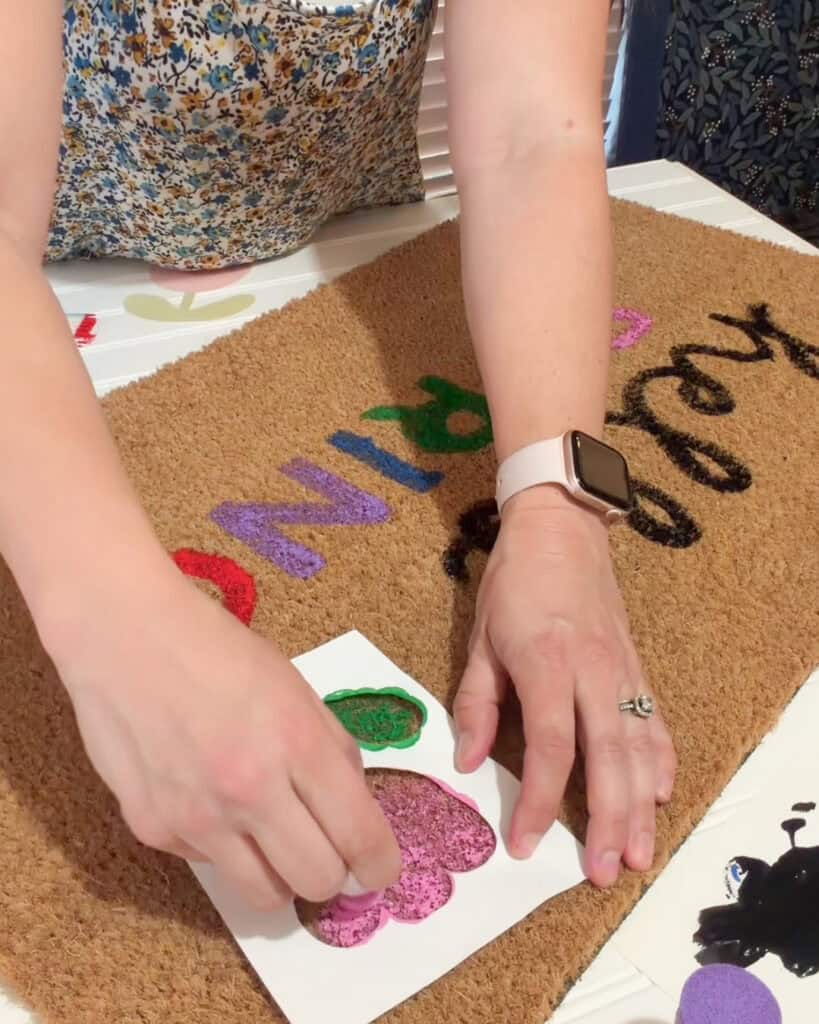
You can:
- keep it simple with one color
- or add florals, patterns, or multiple colors for a more custom look
Step 4: Let It Dry
Allow the paint to dry completely before removing your stencil or tape.
Step 5: Reveal Your Design
Carefully peel back the stencil to reveal your finished doormat.

Tips for the Best Results
- Dab your paint lightly to avoid bleeding
- Don’t oversaturate your brush
- Hold your stencil firmly in place
- Let each layer dry if using multiple colors
Make It Your Own
This is the fun part — you can customize your doormat however you want.
Try:
- Bright florals for spring
- Neutral tones for a more high-end look
- Seasonal phrases you can switch out throughout the year
Final Thoughts
This DIY is proof that you don’t need to spend a lot to make your home feel fresh and inviting.
A little paint + a simple idea = a porch that feels ready for spring.
Grab Your Free Stencil
Want to recreate this exact look?
Fill out the form below and I’ll send you the free printable stencil.
How to Print Your Stencil
Download the stencil file and open it on your computer. When printing, select “Poster” or “Tile” mode and make sure the scale is set to 100% (actual size). This will split the design across multiple pages so you can create a full-size stencil.
Once printed, trim the edges and tape the pages together to form your complete design. Then simply cut out the letters and place the stencil on your doormat — and you’re ready to paint!
Want More Easy DIY Ideas?
If you love simple, budget-friendly projects that make your home feel more fun and intentional, check out more ideas here on Making Frugal Fun.

hi! I'm shannon
I’m a wife, mom of three, doctor, and blogger! In 2018, I decided to turn my mom blog, into a personal finance blog so others could follow along on our journey to pay off over HALF a MILLION dollars in student loan and practice start up debt. I hope you enjoy following along, and maybe even find some inspiration along the way.