This post may contain affiliate links, which means I earn a small commission if you purchase something I recommend- at no additional cost to you! As an Amazon Associate I earn from qualifying purchases. Thank you for supporting this blog! Full disclosure here.
If you want an easy way to make your table look more styled without spending more money, this is one of my favorite hosting tricks.
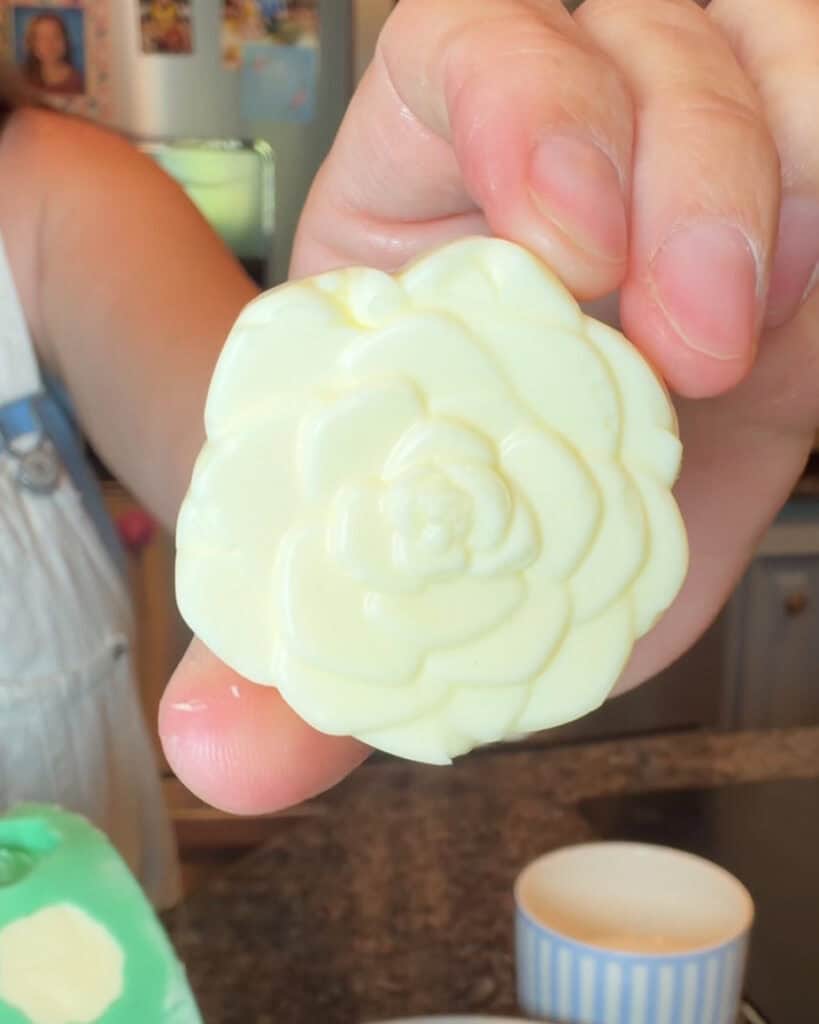
Shaping butter using silicone molds instantly elevates your table. It’s quick, inexpensive, and works for everything from holiday brunches to casual family dinners.
I first tried this with bunny-shaped butter for Easter, and it turned out so cute that I started using the same idea year-round with different molds and themes.
It’s one of those simple details that guests always notice.
What You Need
- Butter (real butter works best)
- Silicone molds (any shape you like)
- Spoon or small spatula
- Refrigerator
How to Make Butter Shapes
Let your butter soften at room temperature until it’s easy to press.

Scoop the butter into your silicone mold.

Press firmly to fill all the details of the mold.

Smooth the back with a spoon or spatula.
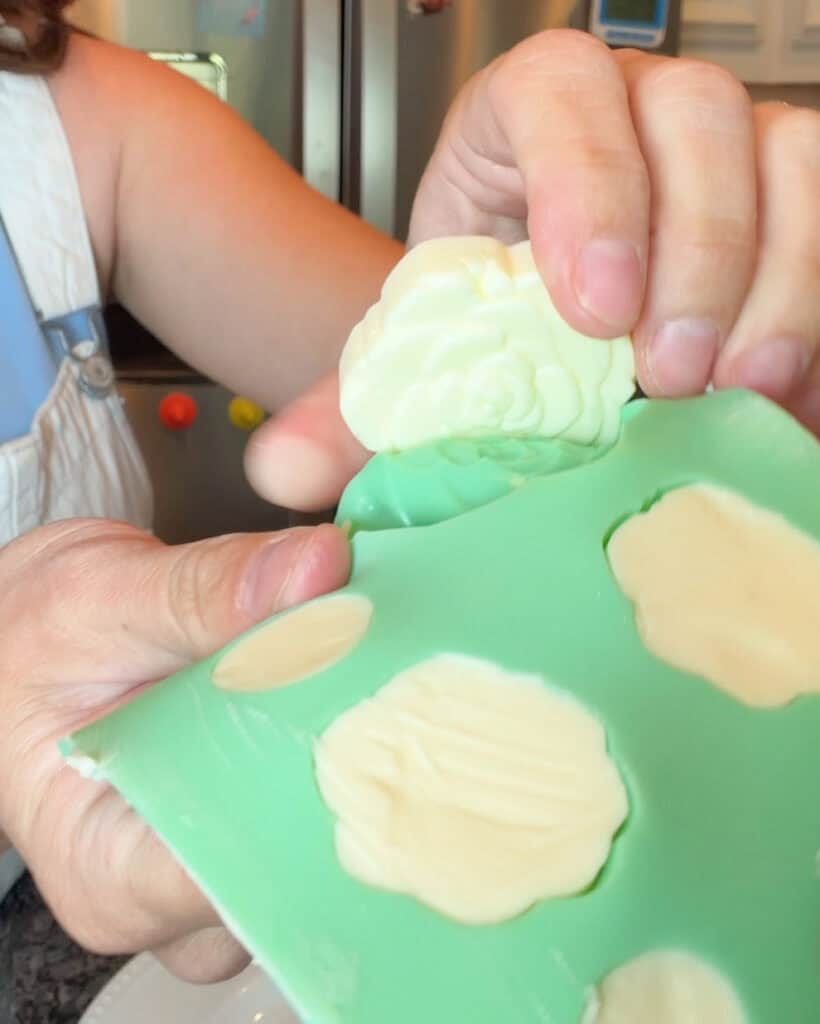
Place in the refrigerator for 30–60 minutes, or until firm.
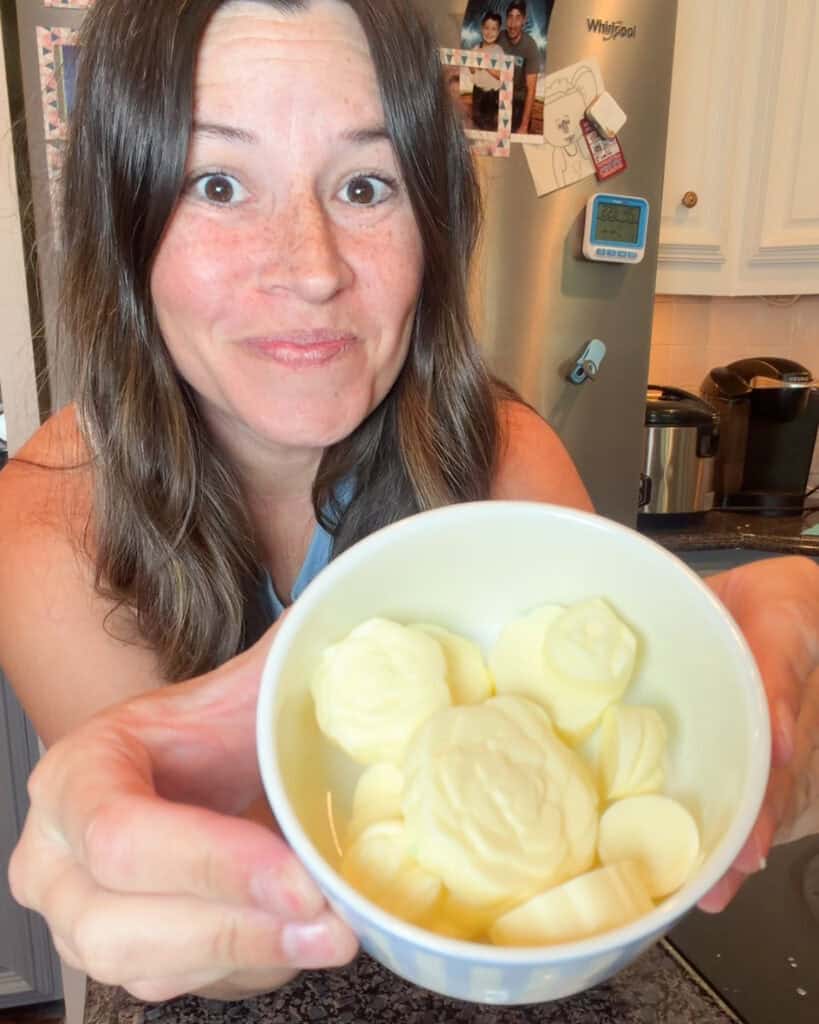
Gently pop the butter out of the mold.
That’s it. You now have shaped butter that looks like it came from a catered event.
Tips for the Best Results
- Use real butter instead of spreadable tubs for cleaner shapes
- Slightly overfill the mold, then scrape the back flat
- Chill longer if your kitchen is warm
- If the butter sticks, place it back in the fridge for a bit longer before removing
- Store in the refrigerator until ready to serve
When to Use Shaped Butter
This is what makes this idea so versatile. You can use it for so many occasions throughout the year.

Spring and Easter
Use floral or bunny molds for:
- Easter brunch
- Spring charcuterie boards
- Garden parties
Mother’s Day Brunch
These are perfect for:
- Pancake and waffle toppers
- Biscuits and scones
- Brunch boards
Summer and Parties
Great for:
- BBQs and cookouts
- Graduation parties (serve with dinner rolls)
- Baby showers or bridal showers
Fall and Holiday Hosting
Switch to seasonal shapes for:
- Thanksgiving dinner rolls
- Holiday charcuterie boards
- Christmas brunch spreads
Why This Simple Trick Works
This is one of those small details that makes a big difference.
It takes the same ingredient you were already going to serve and turns it into something that feels thoughtful and styled. It’s especially helpful if you enjoy hosting but want to keep things simple and affordable.
Make Ahead and Storage
You can make these butter shapes ahead of time, which makes them even more convenient for hosting.
- Store in the refrigerator for up to 2 days before serving
- Keep in an airtight container to maintain freshness
- You can also freeze them and thaw in the refrigerator before use
Frequently Asked Questions
What kind of molds work best?
Silicone molds are the easiest to use because the butter releases cleanly without breaking.
Can I use margarine or spreadable butter?
It’s best to use real butter. Softer spreads don’t hold their shape as well.
How far in advance can I make these?
You can make them 1–2 days ahead and keep them refrigerated until ready to serve.
Final Thoughts
If you’re looking for a simple way to elevate your table without adding extra cost or stress, this is an easy win.
It’s quick, affordable, and works for so many different occasions. Once you try it, you’ll probably start looking for excuses to make themed butter for every event.
Shop My Favorite Butter Molds
If you want to recreate this, I’m sharing the exact molds I use and love.
More Easy Hosting Ideas
If you love simple, affordable ways to make everyday moments feel special, be sure to check out my other ideas and follow along for more.
hi! I'm shannon
I’m a wife, mom of three, doctor, and blogger! In 2018, I decided to turn my mom blog, into a personal finance blog so others could follow along on our journey to pay off over HALF a MILLION dollars in student loan and practice start up debt. I hope you enjoy following along, and maybe even find some inspiration along the way.